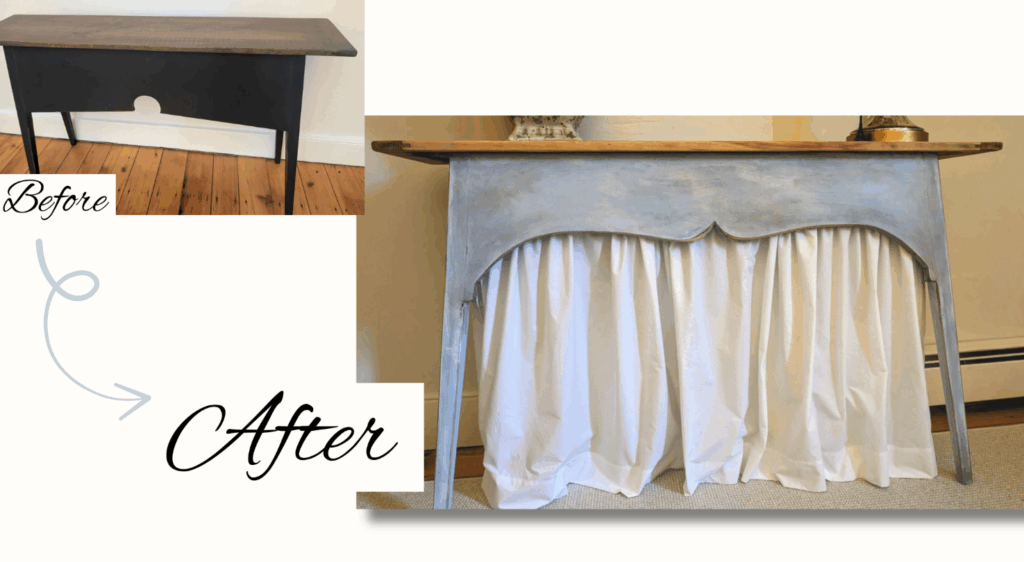
There is something irresistible about a furniture piece with good bones and untapped potential. When I spotted this primitive, pine side table, I knew it had the potential to be something more interesting.
I see lots of examples of primitive reproduction furniture on Facebook Marketplace. This type of handmade primitive furniture was popular in the 1980’s and 90’s. Although its appeal is less ubiquitous than it once was, these pieces may be worth considering if you are handy and able to visualize the possibilities.
There are two things in particular I like about primitive furniture. First, the furniture lines are often straight with few curves or embellishments, allowing them to be transformed into an updated look. Second, they are almost always made of solid wood (usually pine).
Here is a picture of the narrow side table I bought on FB Marketplace for $40.
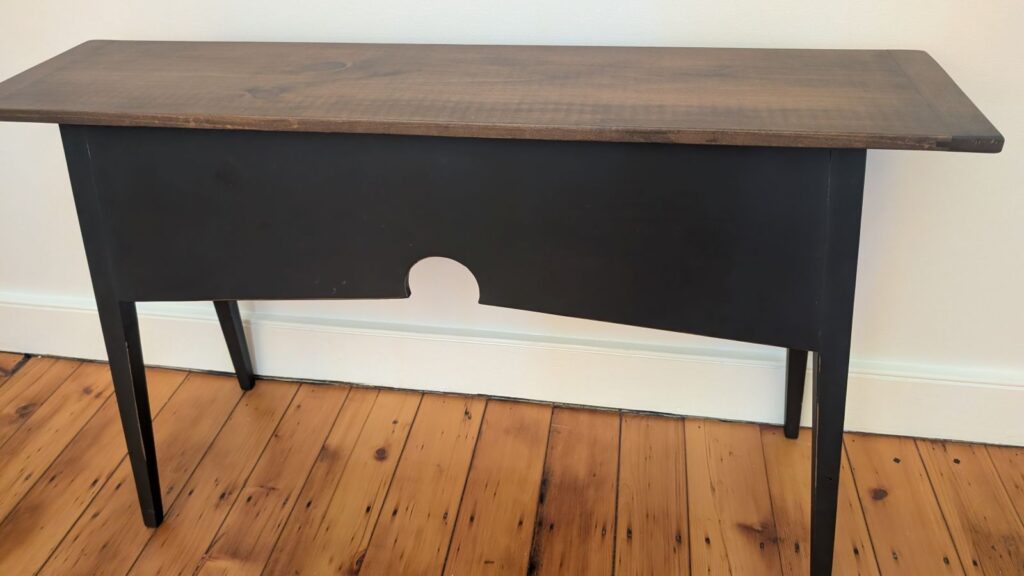
As expected, it is solid pine with straight lines. Also common with primitive furniture pieces, it is painted black with a dark stain on the natural wood parts.
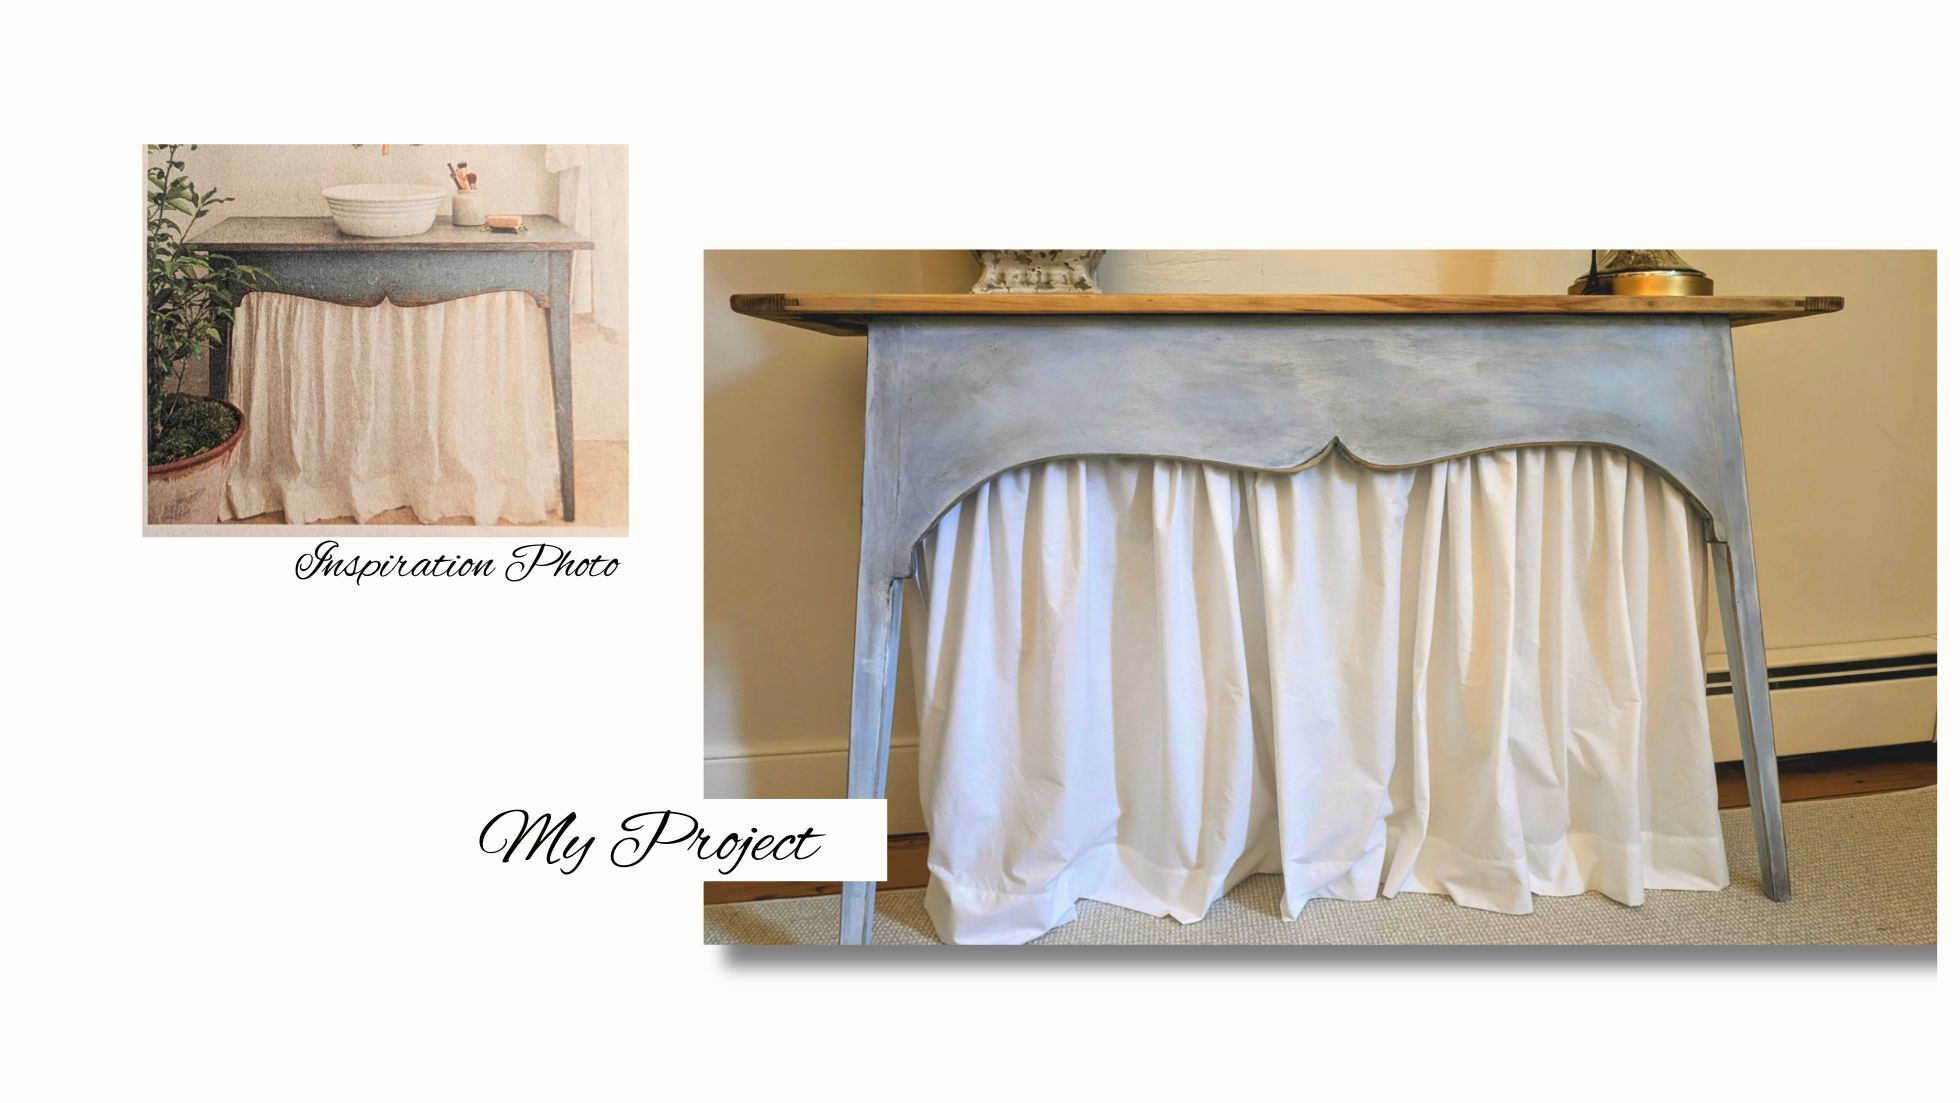
Inspiration Strikes
Flipping through Country Living (Feb–Mar 2024 issue), I stopped at an image of a sweet cottage side table that had been turned into a bathroom vanity. I loved the soft curves, layered paint, and skirt that gave it charm. Suddenly, I saw exactly what my humble table could become!
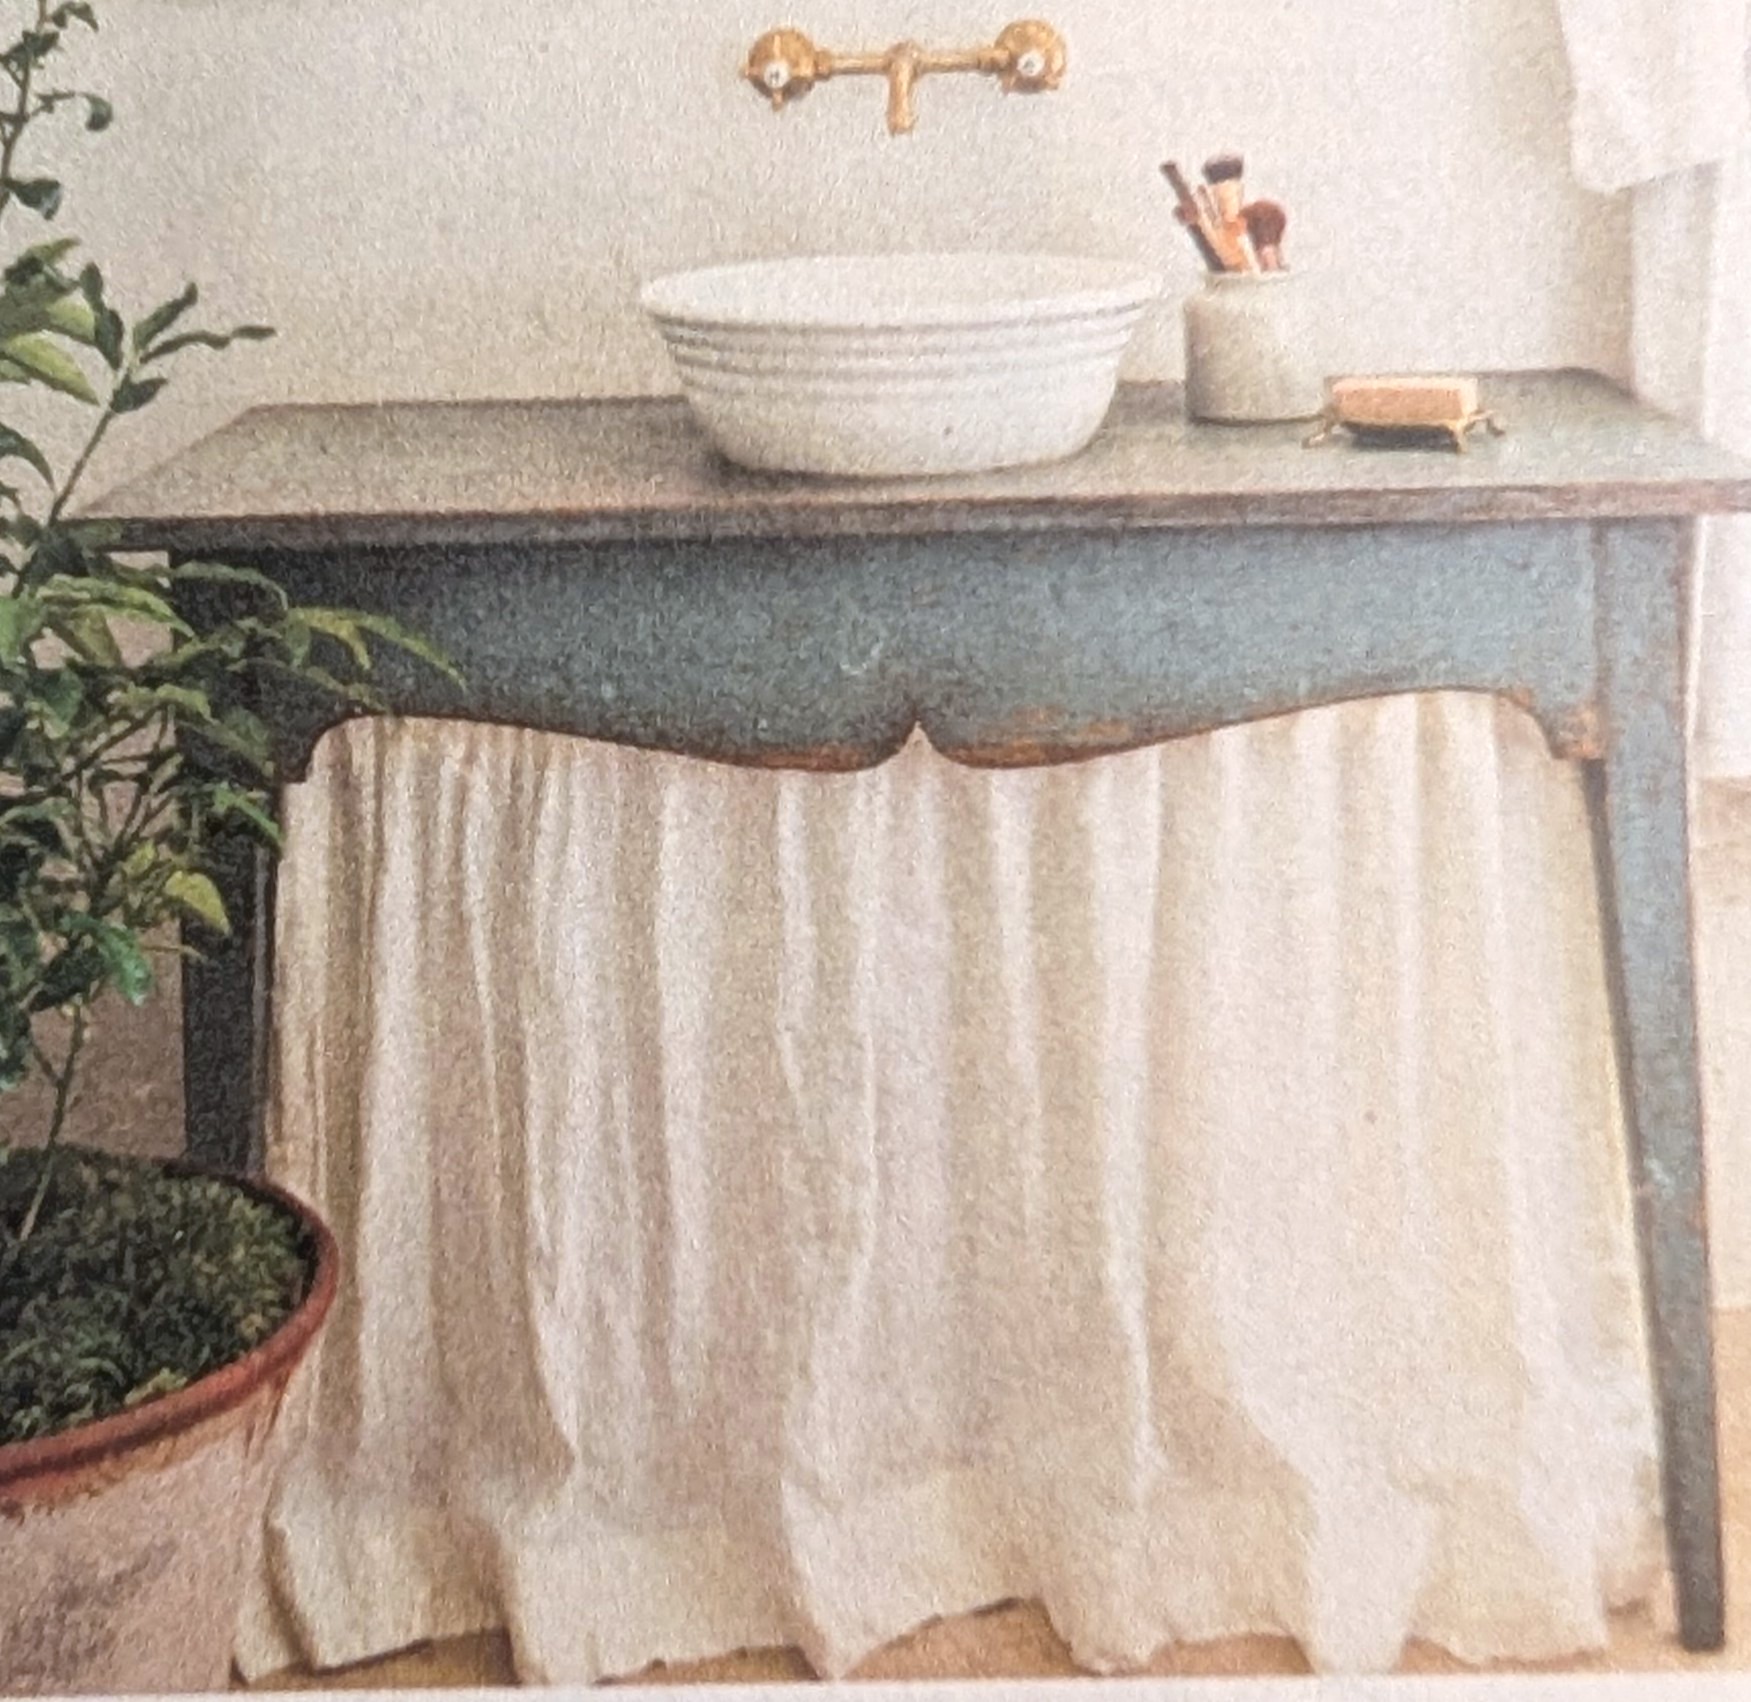
I decided this was the look I wanted to recreate. I also liked the idea of being able to store a few things under the table without seeing them. I wanted to use this table in my home office and I planned to store my Benjamin Moore Paint sample cases under this table. They are great to have handy, but they are very heavy and honestly, pretty ugly!
How I Transformed This Table
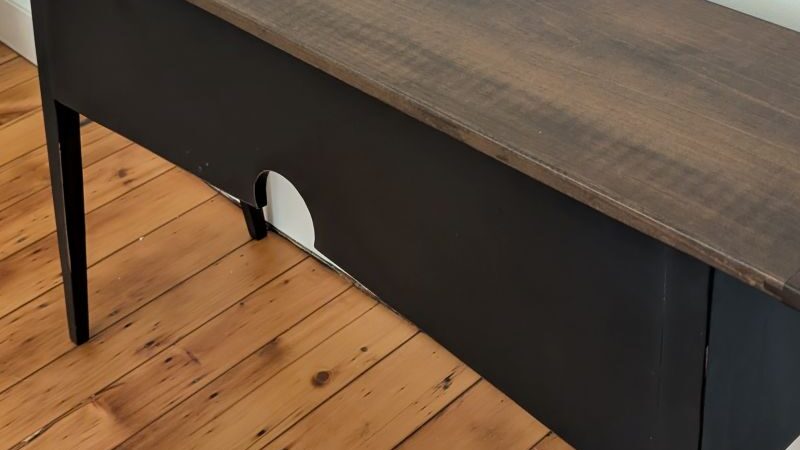
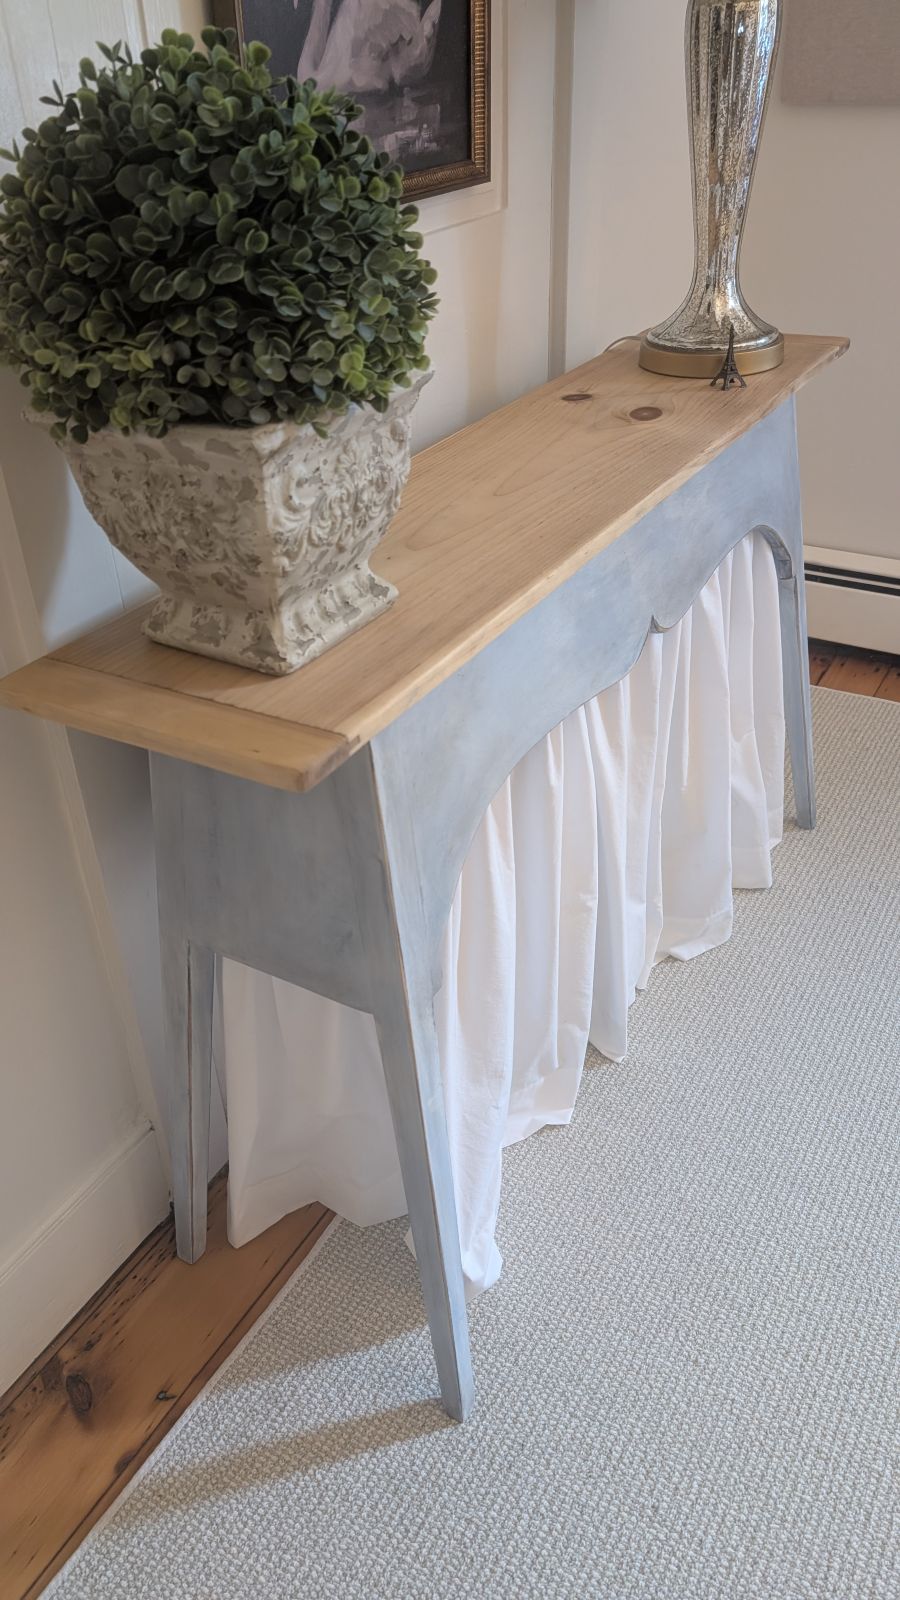
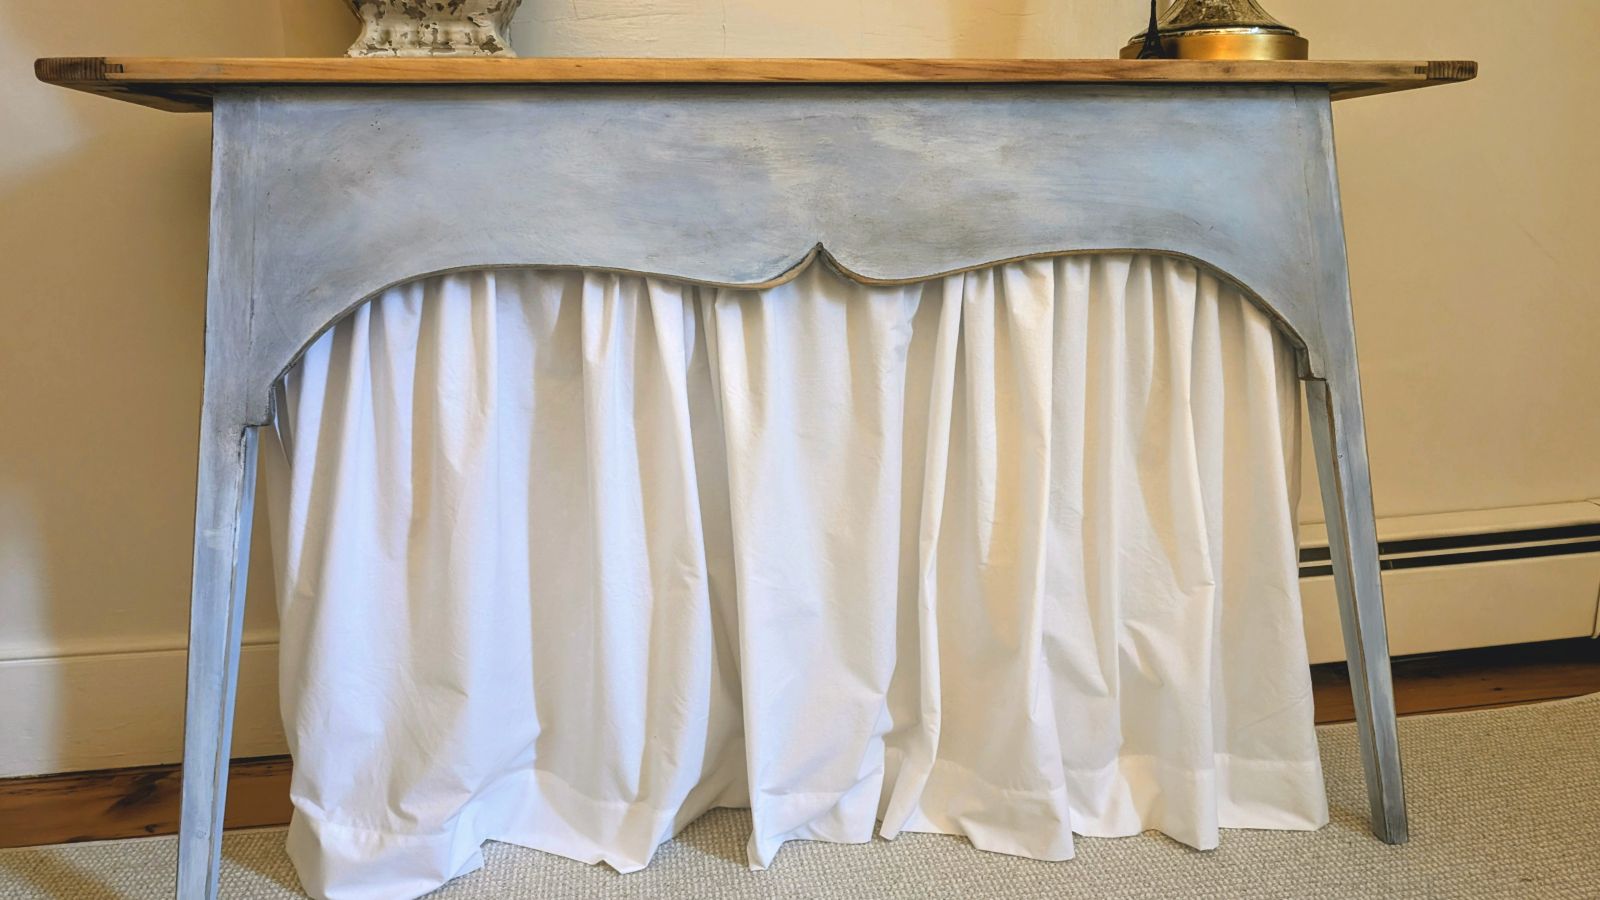
Replicating the curved table front like my inspiration photo.
I started by drawing a rough line using chalk showing how I wanted the curved front to turn out. I soon realized I would not be able to make a symmetric curved detail by drawing it by hand.
I decided to mark the exact center of the table and cut one side with a jig saw, following my chalk line.
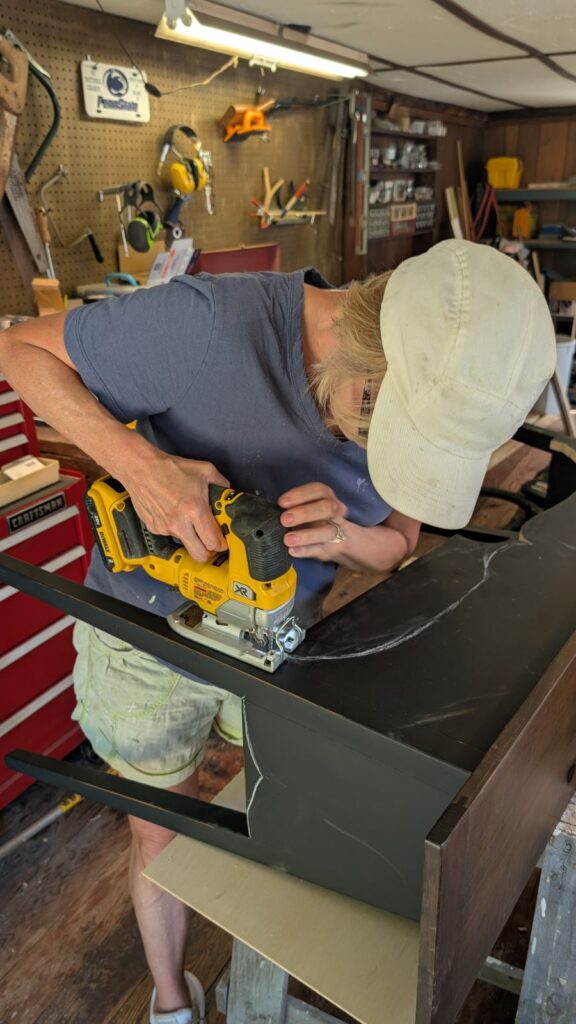
I then created a pattern on paper of that cut. I cut out the pattern, flipped it over and drew the line for the cut on the other side of the table front.
This was the fastest and easiest way to create the symmetrical design.

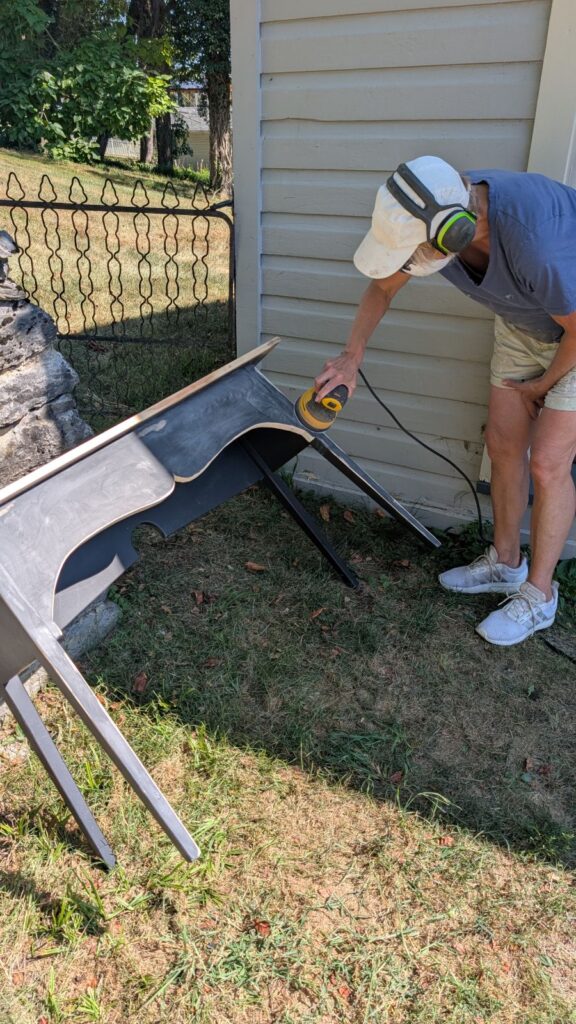
Sanding
Next, I sanded the dark stain off of the table top.
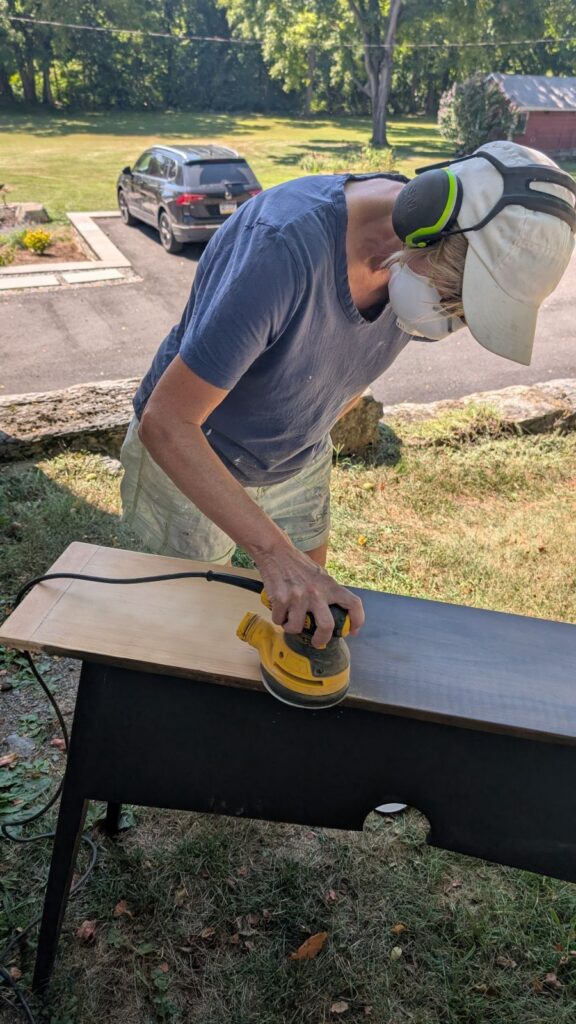
I also sanded the rest of the table enough to ensure the new paint would adhere.
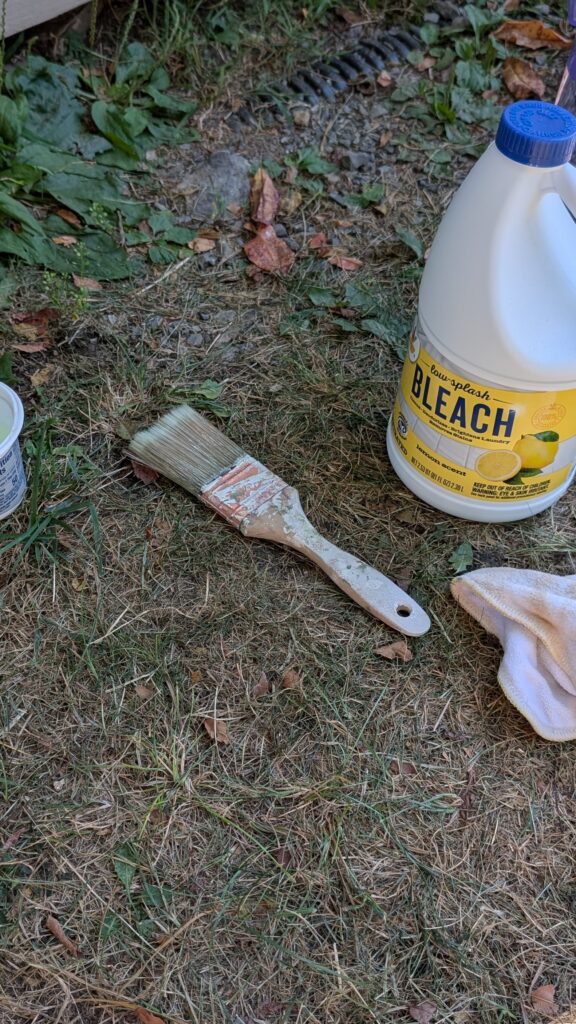
Bleaching the wood
When I was finished sanding, I used a damp cloth on the wood, and as I expected, it was quite orange as pine can sometimes be.

I decided to try bleaching the wood. I have never tried bleaching wood before, but I thought this project was a low-risk way to give it a go.
I used 2 parts bleach to one part water. I liberally brushed it on and left it sit in the sun for a few hours.
It definitely reduced the orange in the wood. It might have benefitted from another round of bleaching, but I was satisfied with the result.
A New Finish
Next, I began finishing the base of the table with a 3 step process.
First, I gave the table a good covering of a bright blue chalk paint (Annie Sloan Louis Blue) I had left offer from another project.
Then I applied a very light blue flat paint (Benjamin Moore Glass Slipper at 50% which is the same paint as my office ceiling) in a random fashion, allowing a good bit of the darker blue to show through.
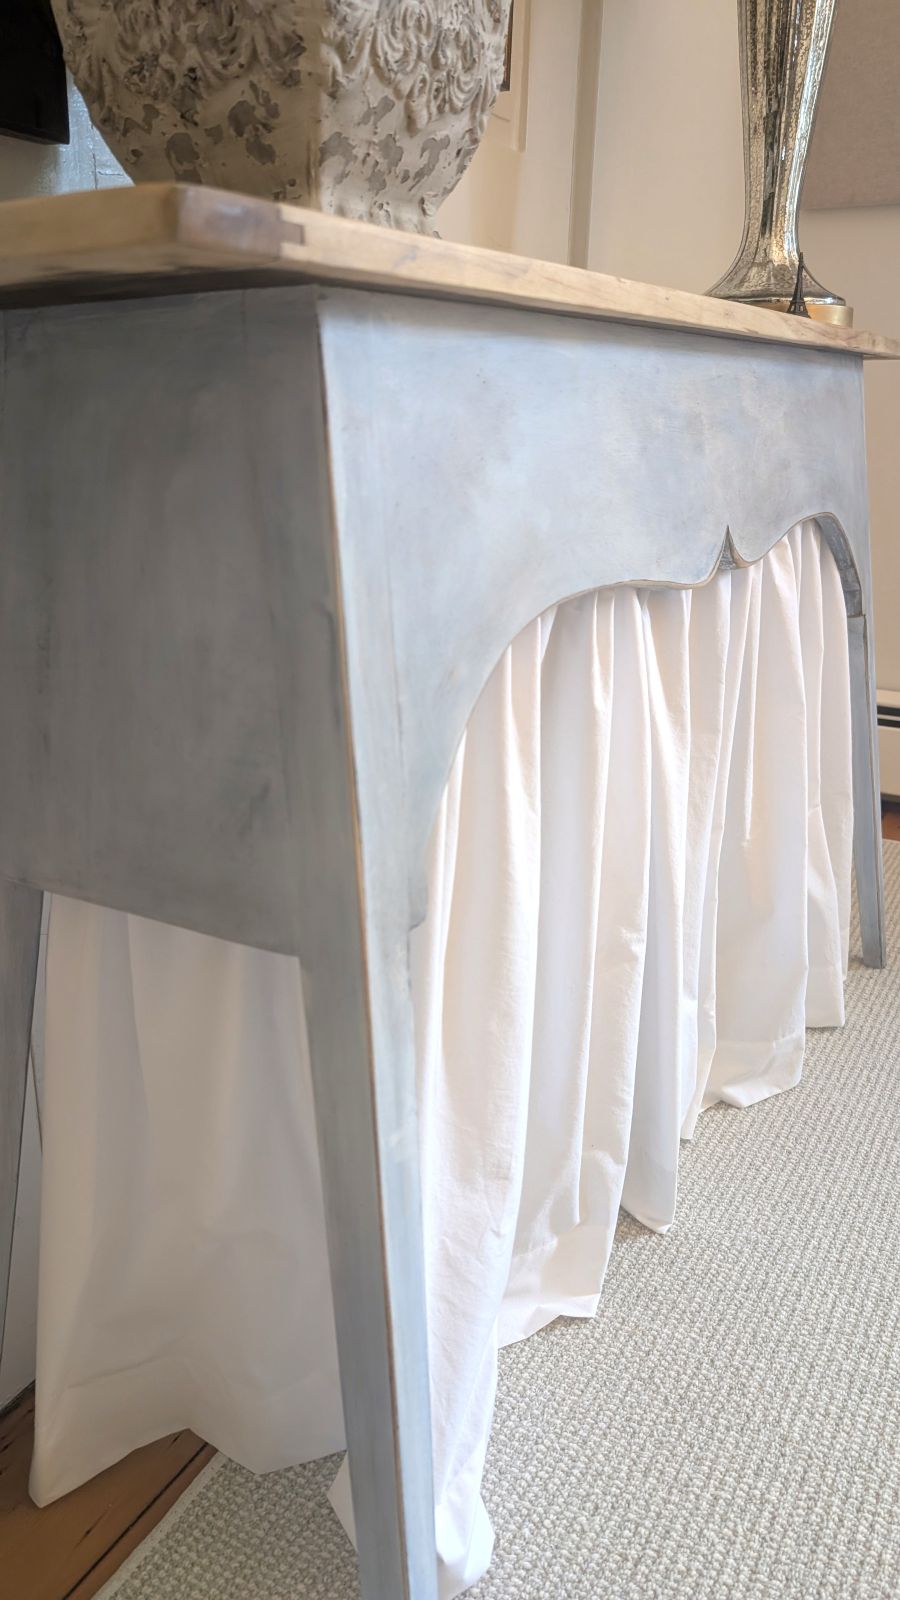
Lastly, I waxed the base in a clear wax and then applied an antique wax irregularly to replicate aging over time.
The Skirt
The final step was to make the skirt. I used 3 curtain rods that are designed to go on French doors. The side rods had to be cut to just 7 inches in length. The rods are available at Walmart for under $3 each.
To make the curtain, I used a white cotton sheet that I no longer needed. I made 3 curtain panels to hang in the front and the 2 sides.
I am really happy with the end result and I’m actually surprise how similar it is to my inspiration photo.
I hope this project inspires you to take a second look at some second hand, inexpensive, primitive furniture you may come across.
I would love to know what you think in the comments!!