
After a long journey of planning, demolition, restoration and rebuilding, The Springhouse renovation is complete! I have so many “after” images to share that I thought I would write a series of blog posts, each focusing on one area of the house.
Since historic preservation was one of the top motivating factors for even taking on this monstrosity of a renovation, I had to begin by showcasing one of the original portions of the house: the patio and natural spring!
I decided to group the images together that were taken from similar viewpoints. Because the transformations are so extreme, I thought this would enable you to get a little more perspective on the process.
Here are five perspectives of the patio and natural spring area.
Before and After: View #1
This is how the house looked from the back before any renovations began.

The next photo shows the back of the house after demolition was completed. (Actually, on the left side, you can see a portion of the porch floor and a stone wall supporting it that would also be removed.)
Considering the house began with over 3000 square feet and two separate living quarters, there wasn’t much left! It was shocking to see it all be torn away, but still worth restoring.
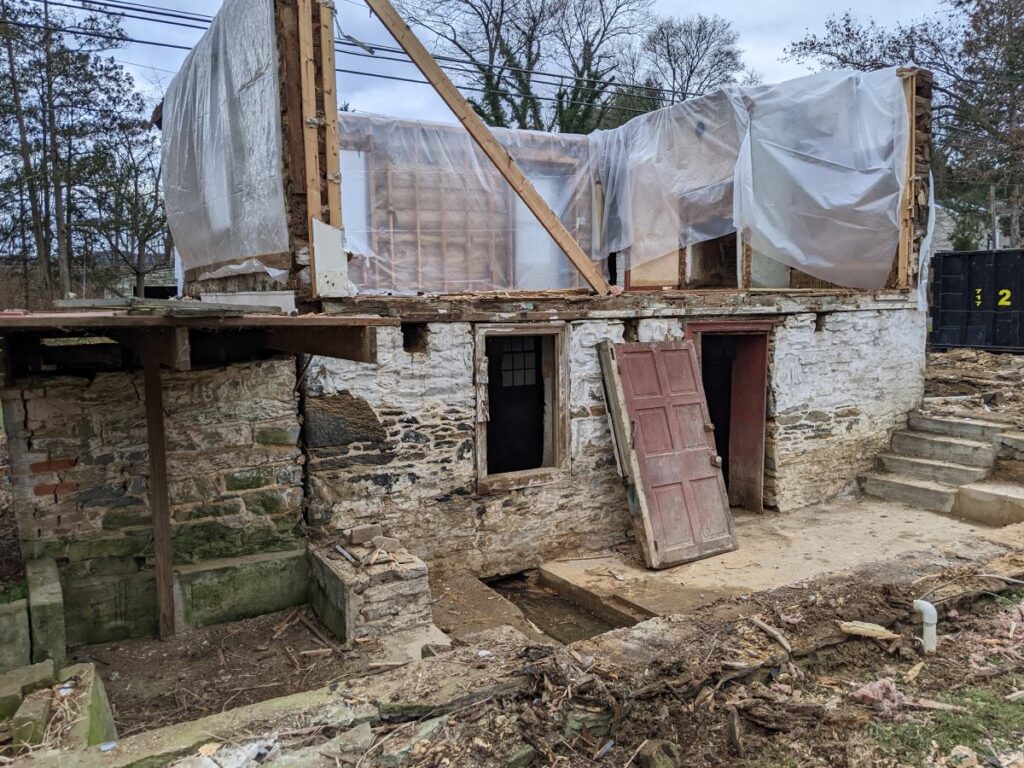
The following photo was taken from the same location after everything was restored and rebuilt. You can tell by the window and door that the patio was originally on the exterior of the house as it is now. Over the years it was enclosed and a kitchen was built over it. With all of that removed, it is back to its original splendor.

The old door was salvaged from the front of the house and repurposed here. By the way, notice the restored original windows. I love them so much. Totally worth the hours of work they required. (You can read more about that in post #8.)
Before and After: View #2
This is a “before” photo of the outside entrance to the spring room. This is the same area with the brown lattice you can see in the first “before” photo in this post. The concrete was in bad shape and it was one of those areas we thought could never end up looking good. Wait till you see!

Another look, after demolition.

This is after restoration. Mark and his guys made this area look so good with some skilled concrete repair and reskimming! It’s now a cute little extension of the patio. Looks like the perfect spot for a grill!

Before and After: View #3
Here is the “before” of the now-exterior patio area when it was part of the enclosed basement. Above this was the kitchen for one of the living quarters: the steps and door you see at the far end led to the kitchen on the other living area. You can see the spring in the foreground of this picture.

And AFTER! It’s all so beautiful and original now.

The stairs that led to the kitchen are still there and now provide one of the access points to the back yard.
It’s hard to find words to express how I feel when I look at this photo: grateful, awestruck, relieved that it actually turned into something nice :)!!
Before and After: View #4
When we could finally see what we were dealing with, we saw rough, but structurally sound stone foundation. The concrete floor in this area was decent so nothing was done with that.

Here you can see the old door restored by me and reframed by Mark to fit into the opening in the stone wall. Notice that large stone on the floor in front of the door. I was so happy we could keep that original feature in tact! Any small, historic detail that could be saved was so rewarding!
Before and After: View #5
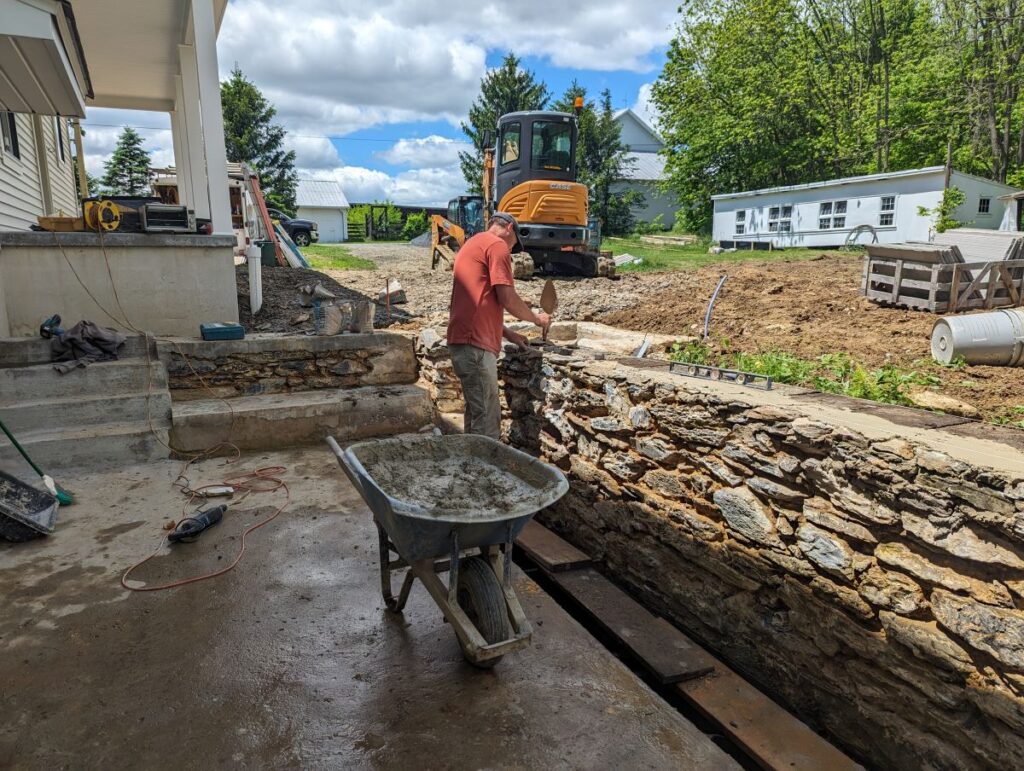
One more viewpoint of the patio and natural spring area. Steve is standing on the patio, no doubt feeling overwhelmed. I know I was when I took this picture!

Here is a crazy “after” taken from almost the exact same spot! This time the patio is in the background.

What an inviting back porch! The newly construction side of the house was designed by Josh, our architect, to sit a few feet higher than it originally did. This resulted in fewer internal steps when going from the old side of the house to the new side. It also allowed for a new foundation and crawlspace.
A few dump truck loads of soil were required to level everything out in the yard, but now it seems like it was always like this.
A Few More Patio Photos
Here are just a few more pictures showing the progress and the finished product!

I hope you have enjoyed this post. I am finally able to show some true “after” images and I am overjoyed!
What’s Next?
I will continue to showcase different areas of The Springhouse in my upcoming blog posts, so don’t miss a one! Thank you for following along on this journey. Knowing you all are reading along has made it so much fun for me!!
Until next time!
The patio and spring area look amazing and the back porch looks so inviting! I love how you salvaged everything you could and repurposed the front door to the back. Can’t wait to read your future posts!
Hi Donna! I agree, the back porch is such a pleasant spot! The repurposed elements definitely added to the work, but also gave the house so much history and character. I think it helped preserve the legacy of the old house.
Thank you for reading along and for leaving a comment for me. It’s great to hear from you!!
Wow, I forgot how rough that stone was under the old kitchen. Mark and Ben did such an incredible job restoring it.
I also forgot how unsightly the original house was… I’m so glad you had this dream of restoring the home to something so beautiful and special. Without you, none of this would have happened, and you should be so proud of the results!
When I was compiling the before pictures for this post, I kept shaking my head in disbelief at how bad everything looked! I’m so happy you love the final result. Your dad and I couldn’t be more thrilled that you and your family are living there! It makes it all worthwhile!
The picture of the back of the house prior to renovations- You guys have truly transformed the property!
As I was reviewing my before pictures, even I was shocked at how bad the house used to be and how far it has come!