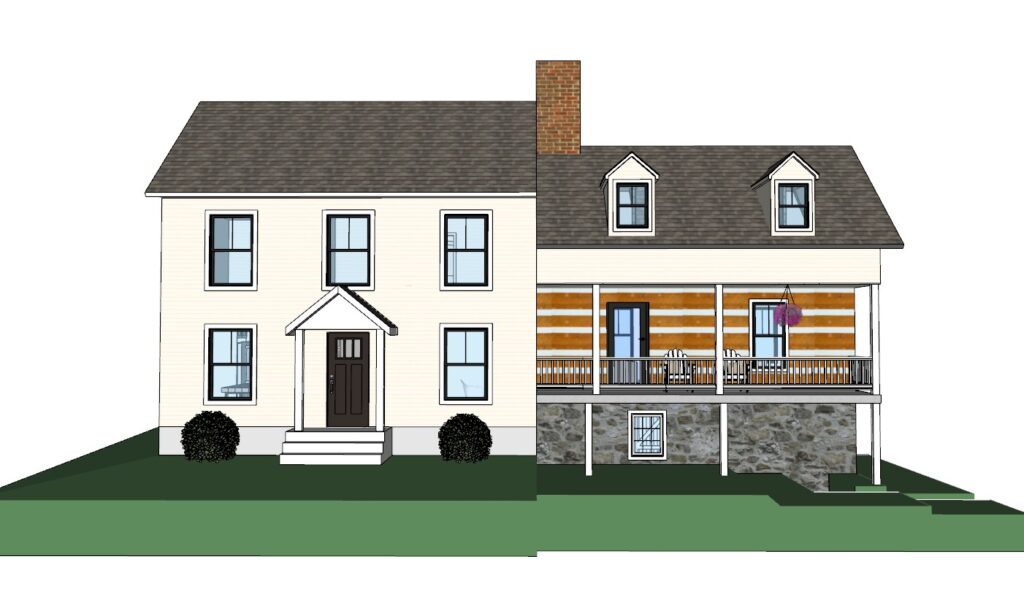
The construction of the new addition to The Springhouse is well underway. You may remember from the first Springhouse Blog post that the house was about 3200 square feet when we bought it. Here’s how the house has changed:
A Breakdown of the Project’s Square Footage Changes
| Starting Square Footage | 3100 sqft |
| Demolition | – 2700 sqft |
| New Construction | +1800 sqft |
| Final square footage | 2200 sqft |
Note: The final square footage does not include the old stone spring room which is about 400 additional square feet.
I’m sure it’s not typical to have so much new construction happening and still end up with a much smaller house! Honestly, I look at those numbers and feel a little overwhelmed by the extensive nature of this project. When we bought this property, we didn’t think this much demo would be necessary. If I had know this then, I don’t think I would have had the guts to take on this renovation. I am happy to be on the rebuilding side of things where everything is much more predictable and straightforward moving forward.
The Log Restoration Process
This is a multi-step process! Currently, the old chinking and filler have been removed from between all of the logs. An acid wash designed specifically for logs has worked wonders! The logs are much brighter now with a warm, golden tone– a big change from the weathered grey and paint-covered condition when we first uncovered them. The acid wash also did an amazing job of removing most of the black marks in the wood caused by nails and moisture.
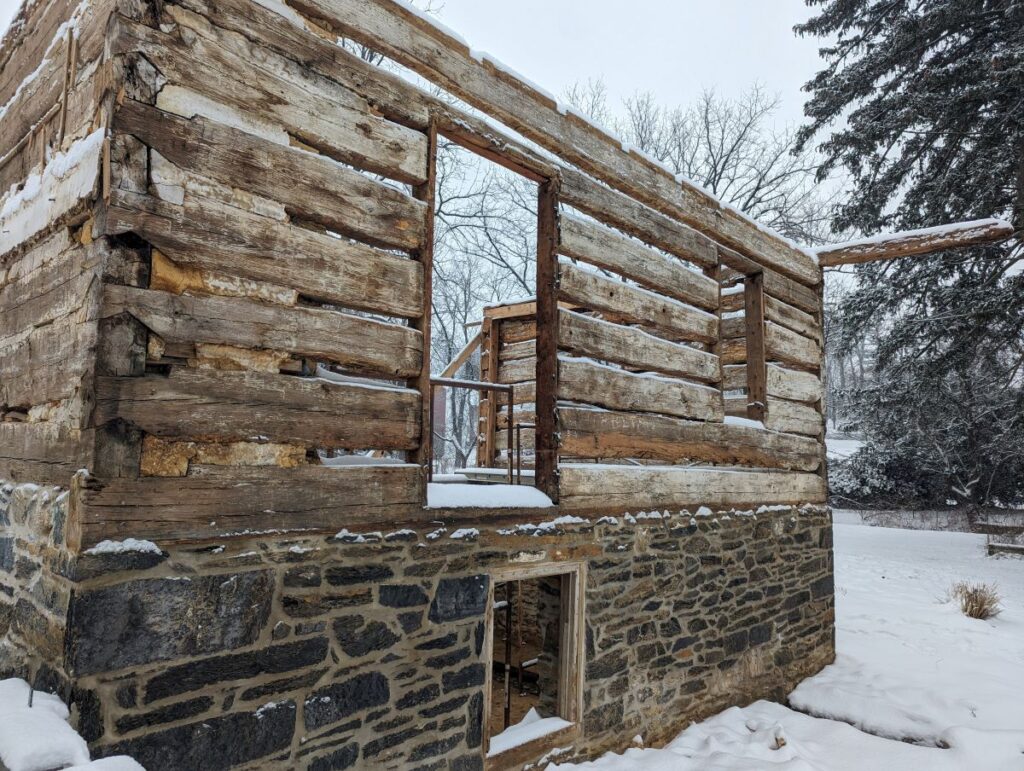
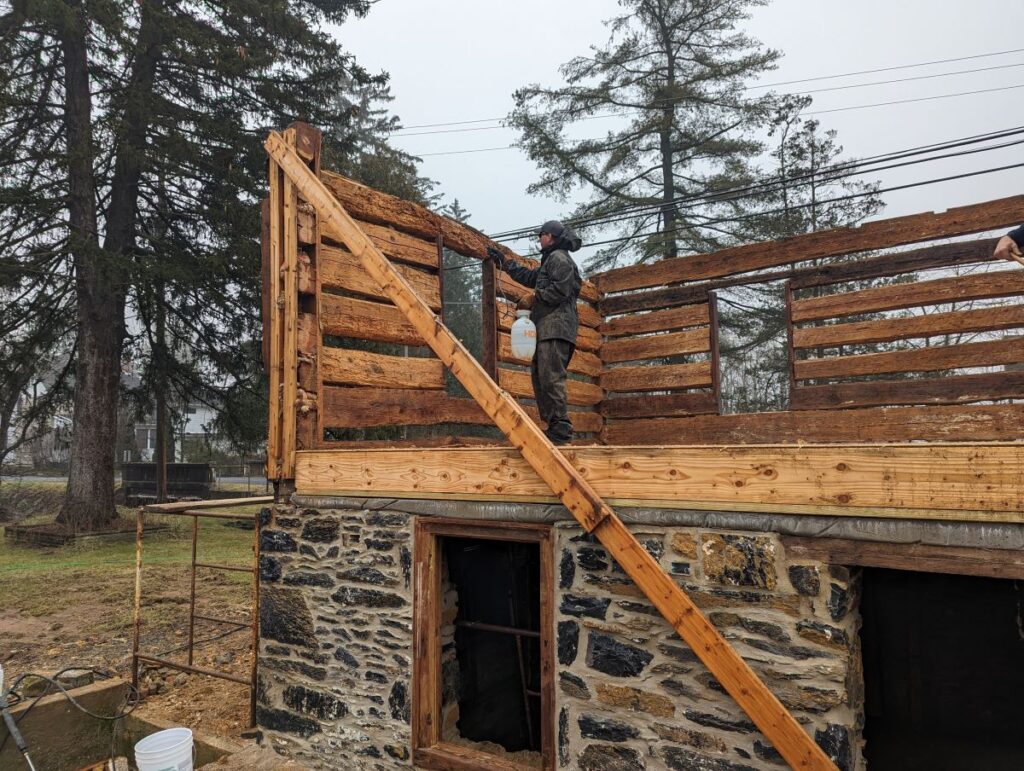
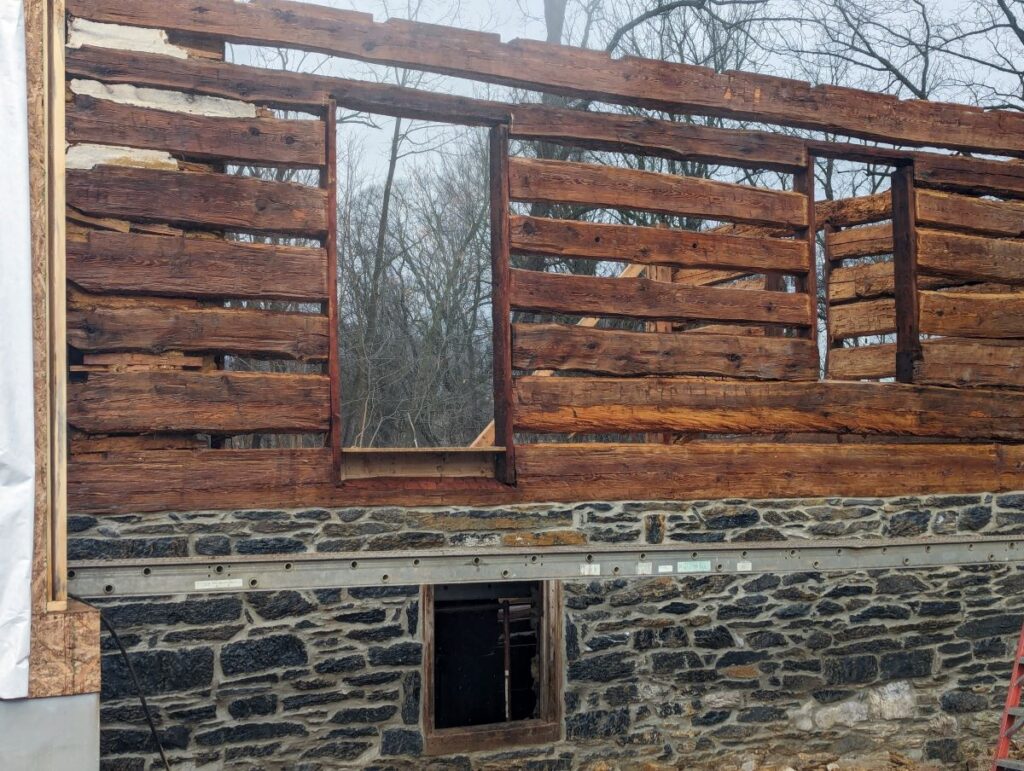
On the living room wall, two of the logs that we want to expose showed significant damage. One was the result of rot and the other had a section cut out of it that was replaced with a board. Our contractor, Mark, and his skilled workers were able to solve both problems with ingenious solutions.
The damaged log was removed and flipped around since the other side of that log looked better. The cut log was removed and replaced with another hand-hewn log that was part of the removed structure.

The next steps in restoring the logs include filling holes, sealing all the log surfaces, filling the gaps between the logs and finally rechinking.
Lots of New Construction Underway
Although there is much more work needed on the logs, for now the construction crew is focusing on building the new structure.
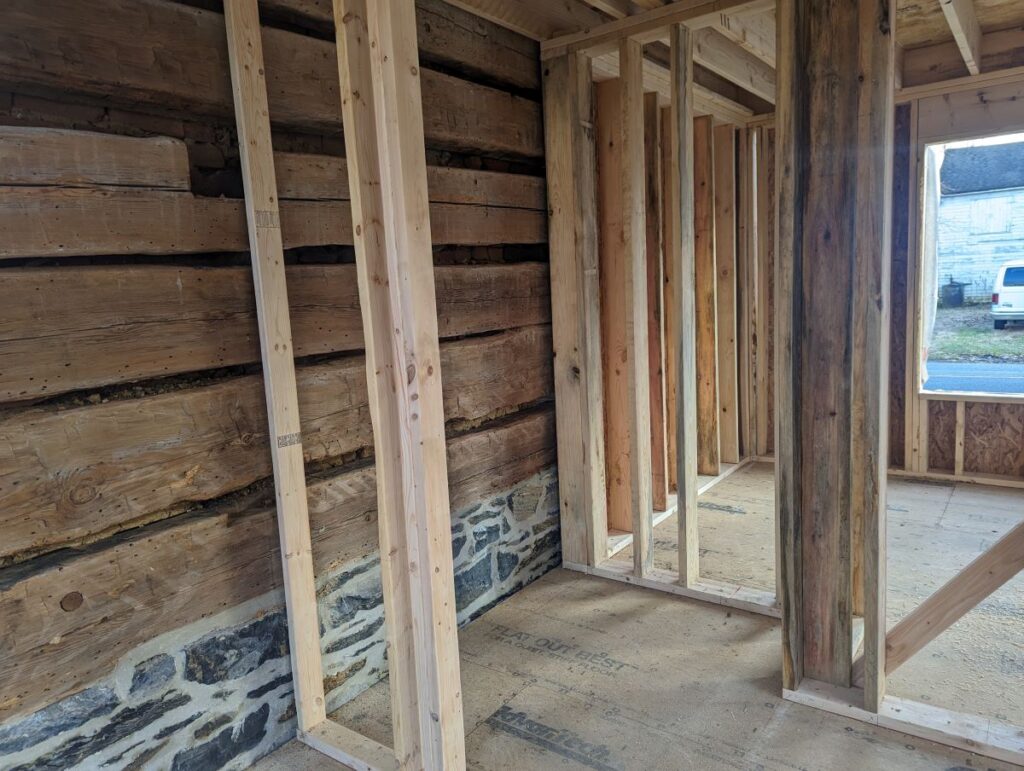
The first floor has been framed so far. It’s so nice to be able to finally walk through the space and imagine each room.

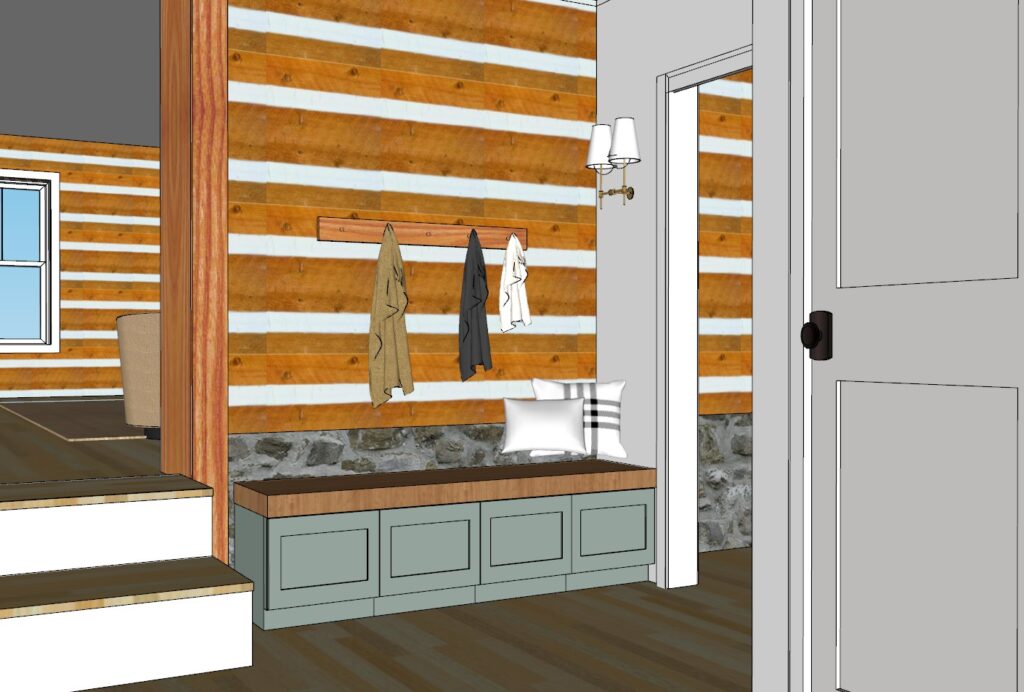
This is an area of the house I am particularly excited about! The new portion of the house was designed to butt up against the old, allowing the an old exterior wall to be visible in the mudroom and the first floor bathroom. This will make such a statement in the house!
Here is a rendering showing the steps into the living room, the mudroom and a peak into the first floor half bath.
A Little More About The Springhouse Property
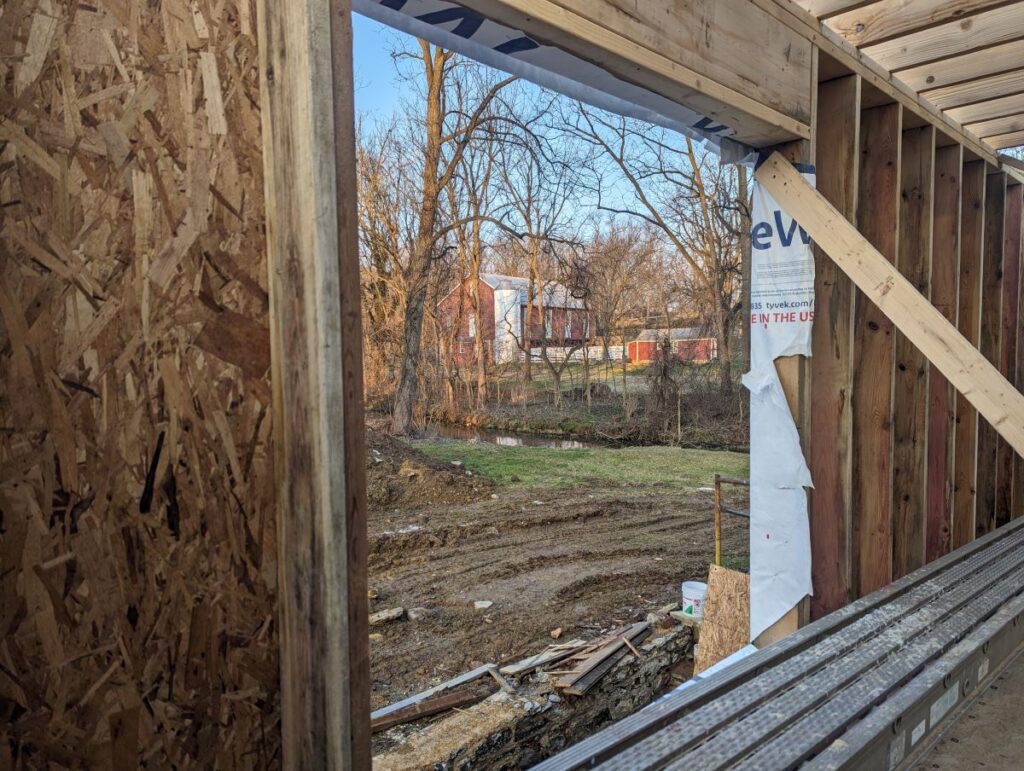
I included the next photo to give you a frame of reference of the location of The Springhouse to our house. You can see our barn through the double window opening in the living room. As you can see, the properties are next door to each other as I talked about in my first post, but in a rural, spread-out kind of way.
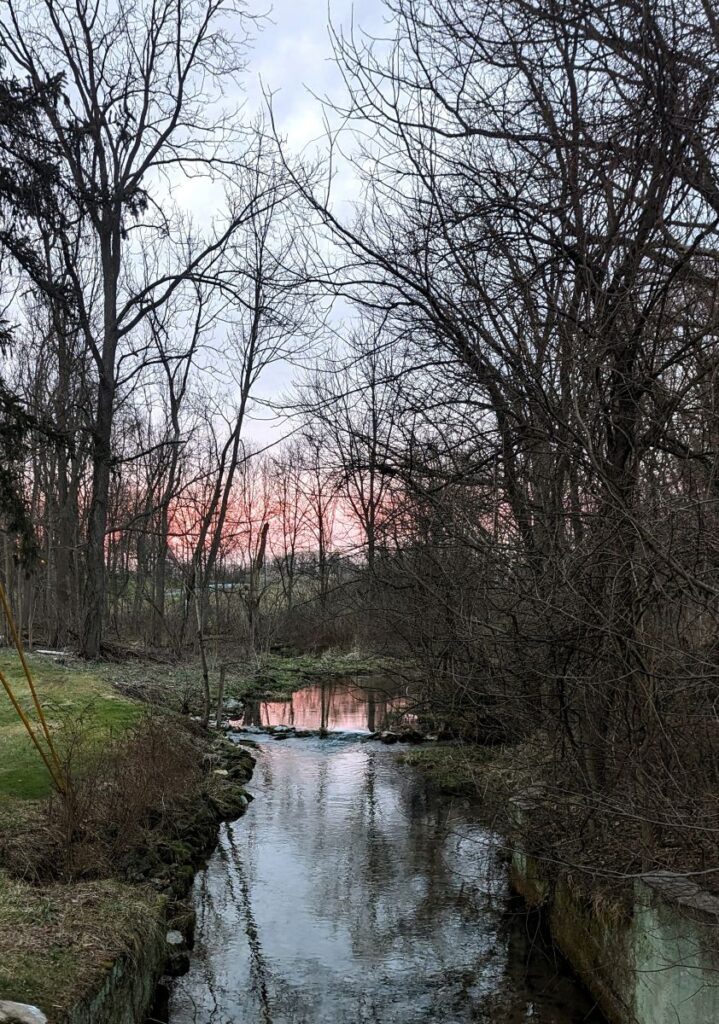
Also for reference, the next photo shows the stream that runs between the two properties. The pleasant sound of trickling water is so relaxing! When the weather gets a little warmer, Steve and I plan to do some clean up here, as well as line the bank with stones that are left over from all the demo.
Summary Of The Project So Far
We are so pleased with how the project has gone so far. Mark and his crew have gone above and beyond to preserve as many of the historic elements as possible. The condition of the original structure is turning out to be as good as we could have hoped for– partly due to its preserved condition and partly a result of the careful and skillful restoration that is taking place. What we are seeing so far makes this crazy project seem a little less crazy!
We are also pleased with the plans for the newly constructed part of the house. Although I have definitely lost some sleep over this project, I am pretty optimistic at this point that it will be a very special home in the end.
The project is coming along nicely, but there will be so much more to share in the coming weeks and months. Thank you for following the progress! Until next time!


Sooooo exciting. I love the brick and the exposed beams. Thank you for sharing your journey. Parker will have Louella fishing in that stream in no time especially for Crawfish.
I agree! I’m sure Parker would love nothing more than to have his daughter love fishing as much as he does!
Wow! What a story you will have for your home! Thank you for sharing your progress! Amazing!
Hi Denise! Thank you for following along! It has been really fun sharing the process.
Wow! This is truly amazing! The change after the acid washing is fantastic. You’re right, the color is so vibrant. I enjoy seeing all the changes!
I agree. I was so hoping we would end up with logs this color, but I really had no idea if it was possible. Thank you for following the project!
Great post! The framing has come a long way in the last few weeks. I really like your idea for expanding the first floor bath — it’ll be great to see more of the stone and log in there. All of that extra thought energy will really elevate the house in the end!
Thanks, Ben! I think the first floor bath is going to be really nice. Definitely one of a kind. It’s fun to be able to actually walk through the house and see how the rooms feel, especially after studying it on paper for so long!
I love the idea of exposing the outside log wall to the new mud room and downstairs bathroom! Having a stream run along the property is a peaceful and beautiful bonus!! Looking forward to seeing more.
Hi Donna, I think the exposed logs in those areas are going to add a really nice touch. Definitely not a cookie-cutter house! Thank you for following along and for your comments!