
The Springhouse Renovation Project is in the final stretch with a completion date only a few weeks away!
The list of finishing touches is still quite long but the boxes are being checked off very quickly now.
A Few of My Favorite Things
I am loving the finishes that have been chosen like paint colors, light fixtures, cabinet hardware, etc.
Here are my current top three favorite areas of the house:
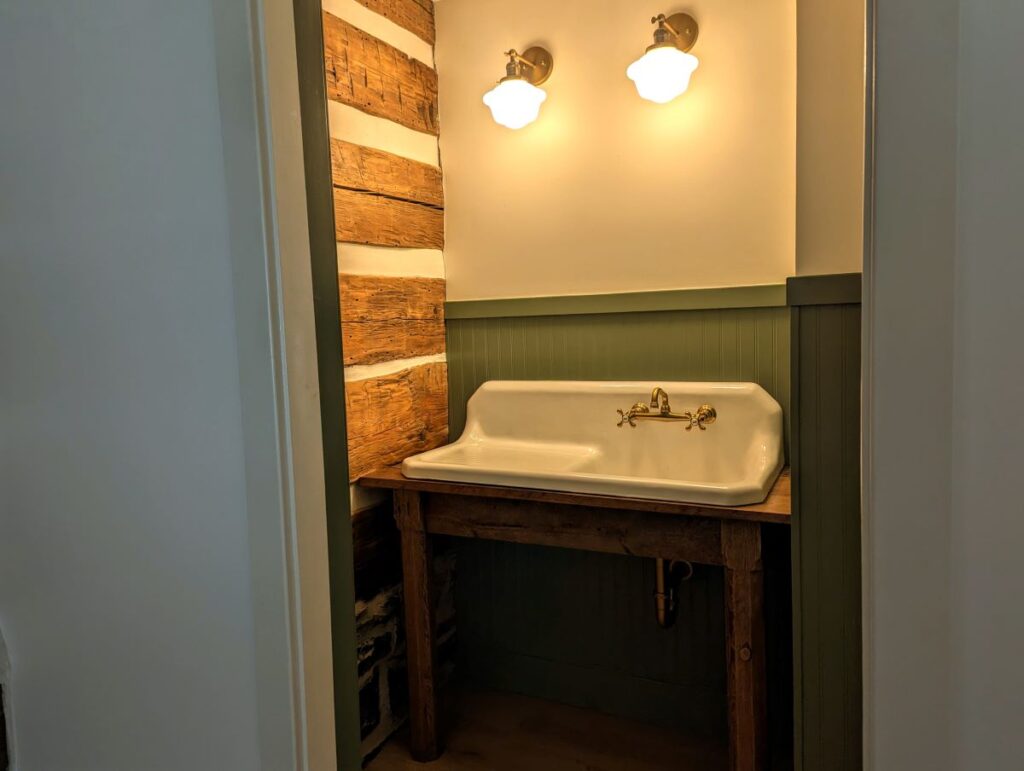
1.The Powder Room
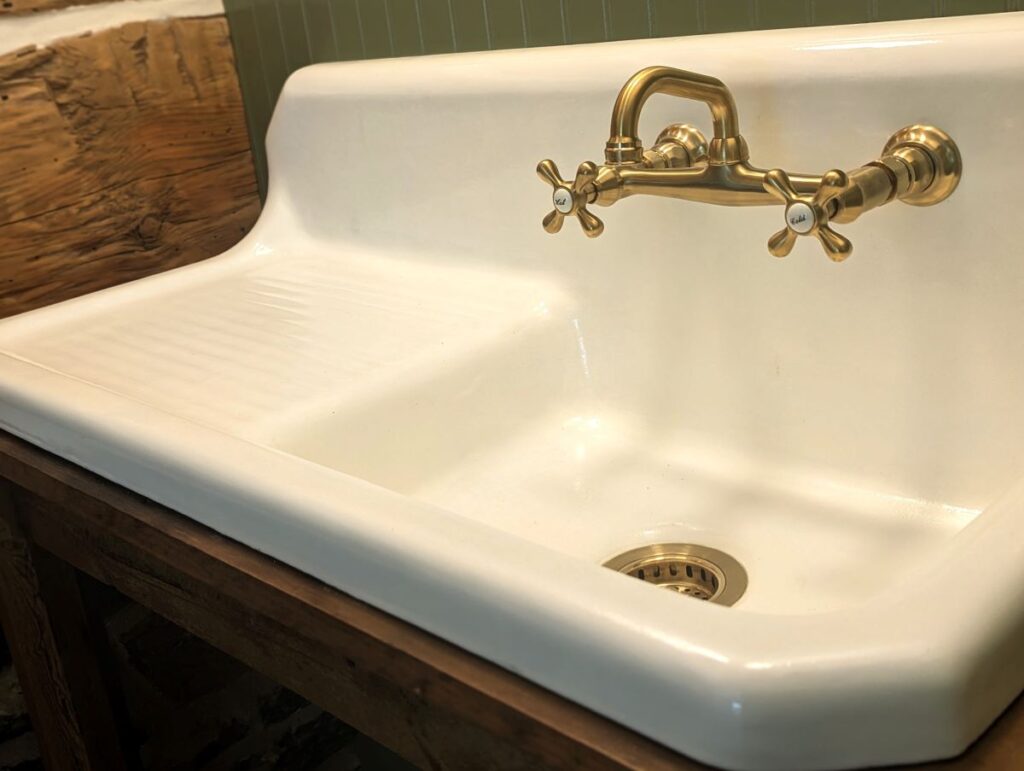
Early in the construction process, I decided on a floorplan change to enlarge the powder room to accommodate this old sink we bought a few years back. I thought this was a great house for it– also a good motivation to finally get this thing refinished and off of our basement floor!
The shifted bathroom wall also provided an opportunity to showcase the log walls a bit more. After the wainscoting was installed, we chose a rich green paint called Great Barrington Green by Benjamin Moore.
Mark made the base of the sink to look like an old table. It was constructed using repurposed attic floorboards and a very old porch post, all carefully set aside during the demo of The Springhouse. It’s a little hard to see in this photo. I will have more photos in the future.
I chose two brass wall sconces with schoolhouse shades to light the space. I also have plans for wallpapering in here as soon as the wallpaper arrives.
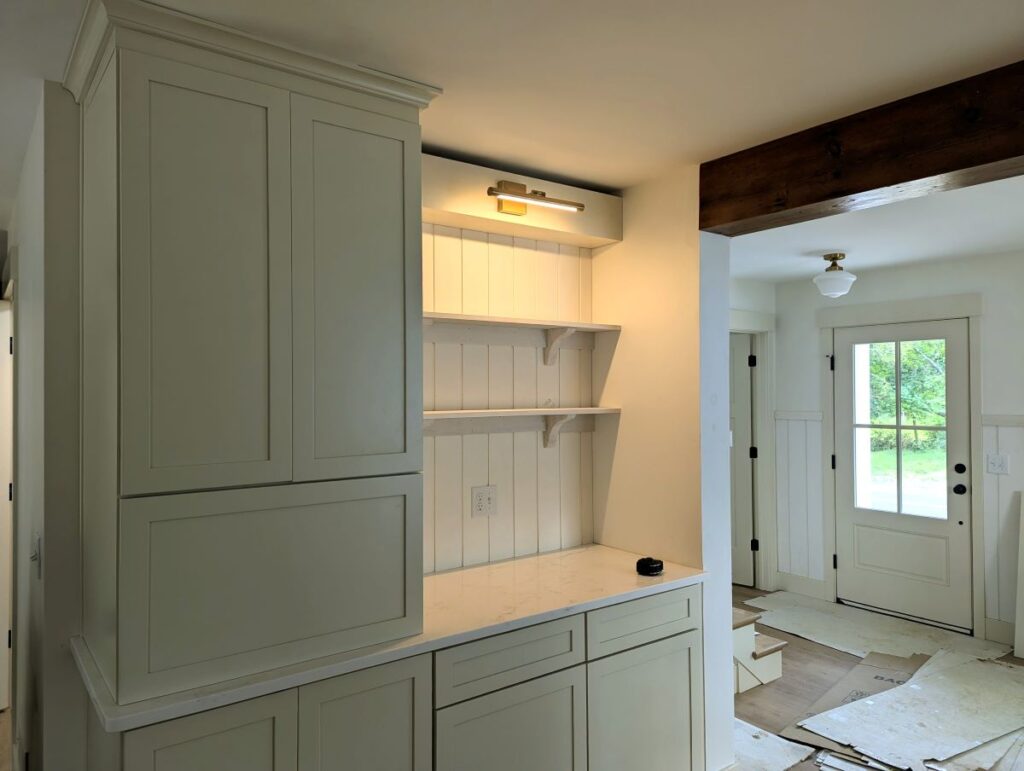
2.The Coffee Bar
The kitchen’s coffee bar is another one of my favorite features of the house. Although it’s not completely finished, I wanted to show you the progress so far.
It may seem simple, but it took a lot of little decisions along the way to make this area work out.
Originally, the coffee bar and the pantry cabinet next to it were in the reverse positions. I thought it made more sense to switch them and frame a small wall between the kitchen and the dining area (symmetrical with the other side). In the original plan, the side of the cabinet would be what you would see from the dining room and coming down the stairs. The wall seemed to be a better choice and created an enclosed space for the coffee bar.
Next the light fixture was chosen and the depth of the shelves was decided on. A soffit was built so the light was mounted at a point that is the same depth as the shelves. Note: There will be a crown molding at the top that hasn’t been installed yet.
Finally, the brackets and the wall covering were chosen and everything was installed. I purchased an extra quart of kitchen cabinet paint from the manufacturer to finish it all as a seamless extension of the cabinetry.
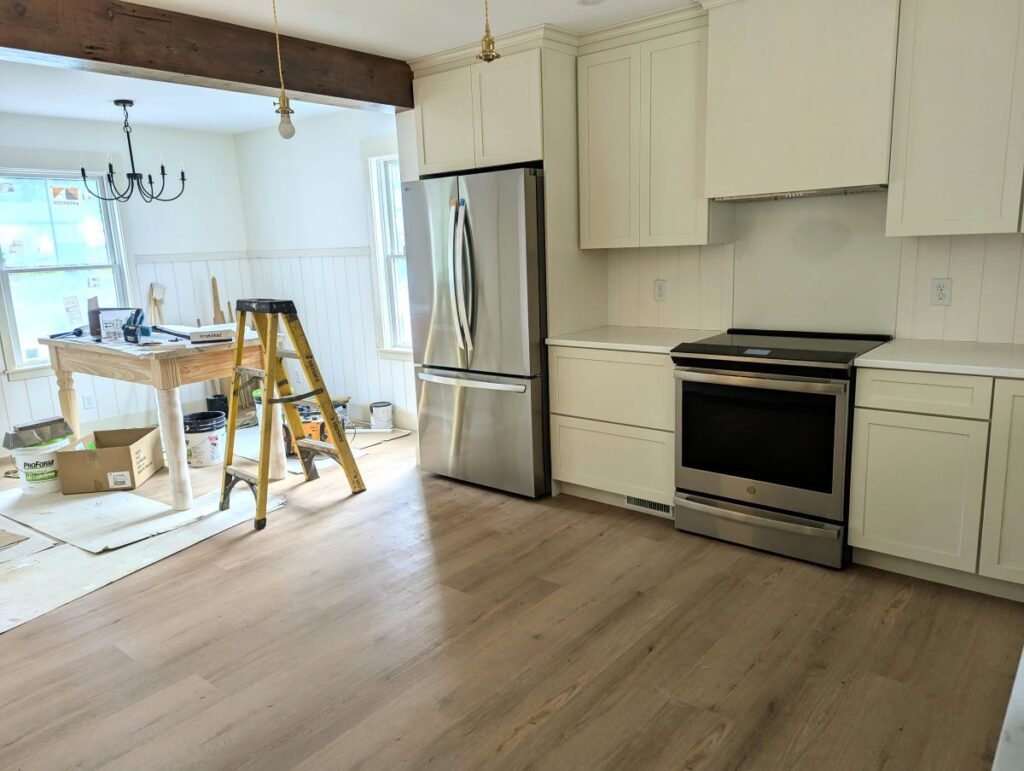
3.The Kitchen Beam
The kitchen beam really ties the house together by bringing an old element into the all-new side of the house. I called it a beam, but it’s actually made of three of the original attic floorboards. The boards were fitted together with beveled edges to create the look of a solid beam. This wraps around a structural beam that was necessary for support in this open span.
New lumber just can’t quite replicate the look of authentic 200 year old wood! When you stand at the back door, you can look to the left and see the original logs and a glimpse of the powder room. Looking to the right, you see this beam with the same age and patina as the logs!
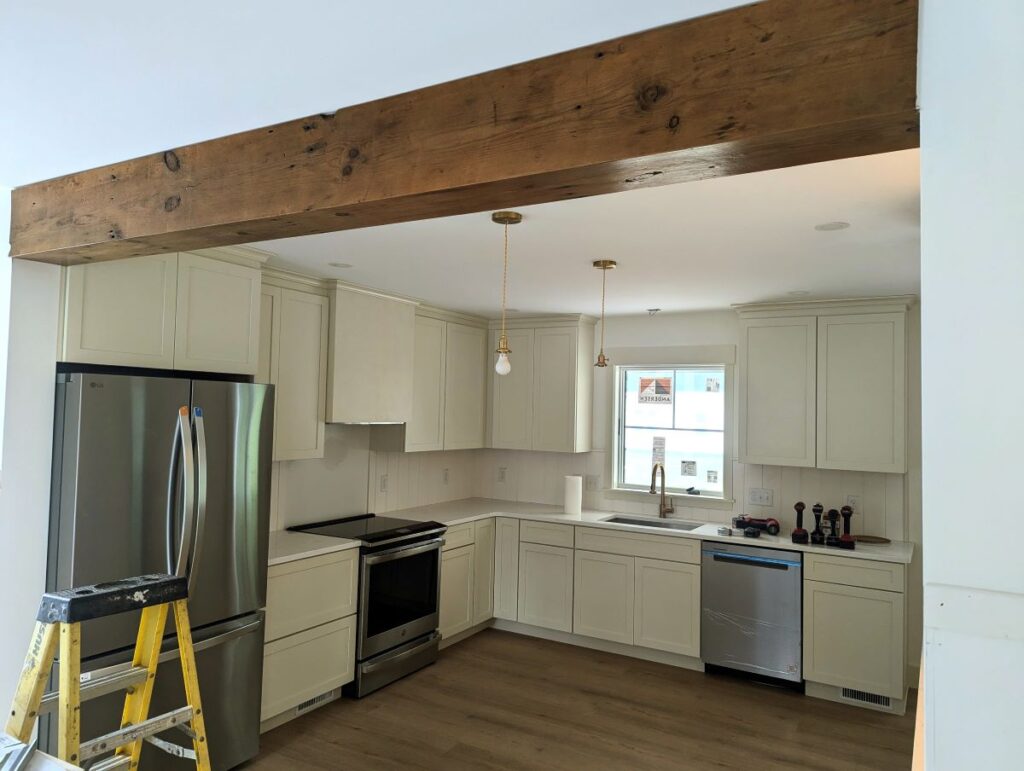
The next photo is another look at the kitchen and the beam from another viewpoint. Also notice the freestanding kitchen island currently in the dining area awaiting my attention.
All Hands On Deck
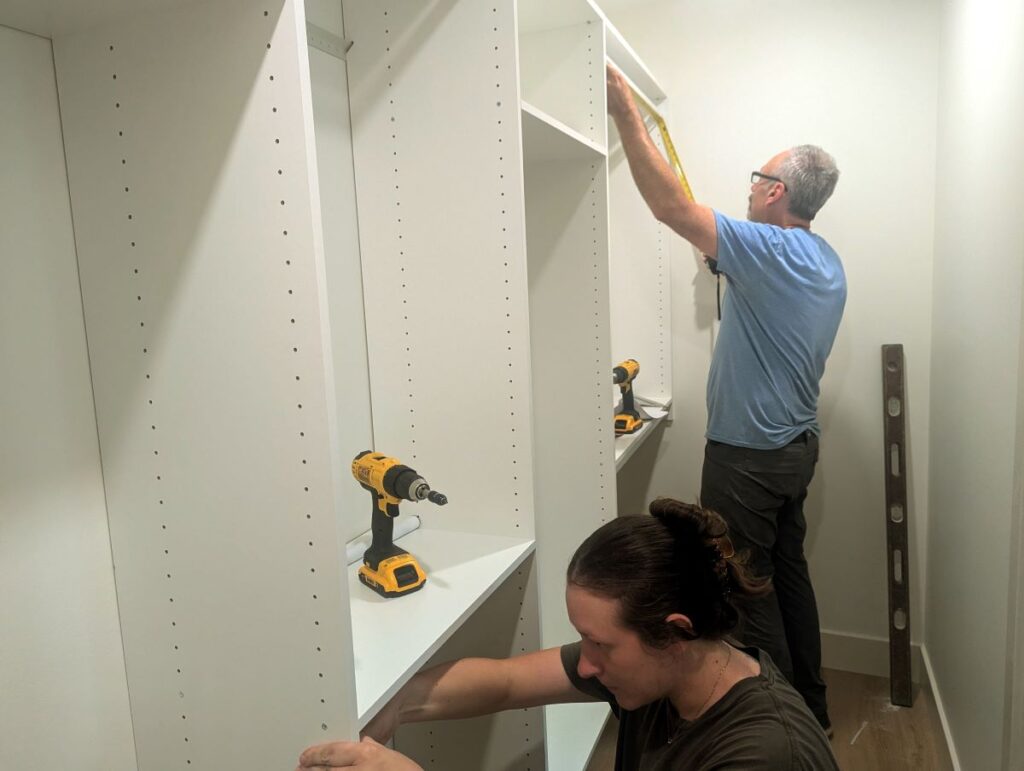
Closet Organizers
Lauren and Steve decided to take on the installation of the closet organizers. Two engineering minds hard at work! The closet in the primary suite is about 12′ long so it took some figuring and cutting to get it right.
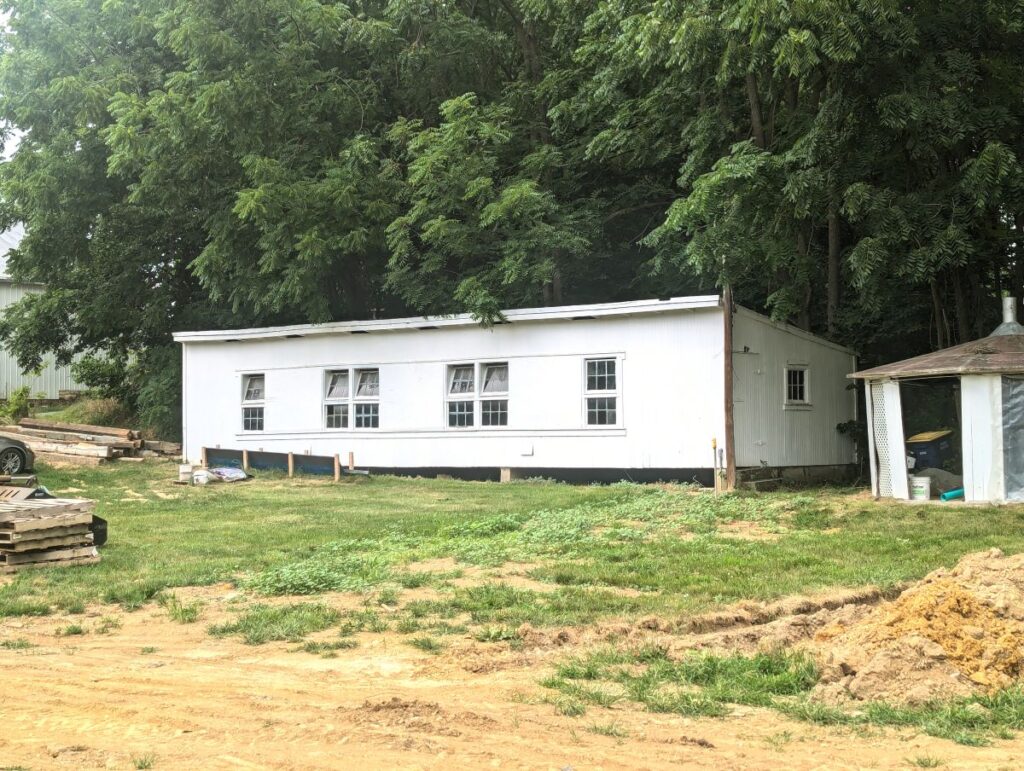
The Chicken House
Steve and Parker have also been working hard on cleaning out the old chicken house on the property. A few more days of work are still needed on that project, but it will make a nice workshop and storage area when it’s finished.
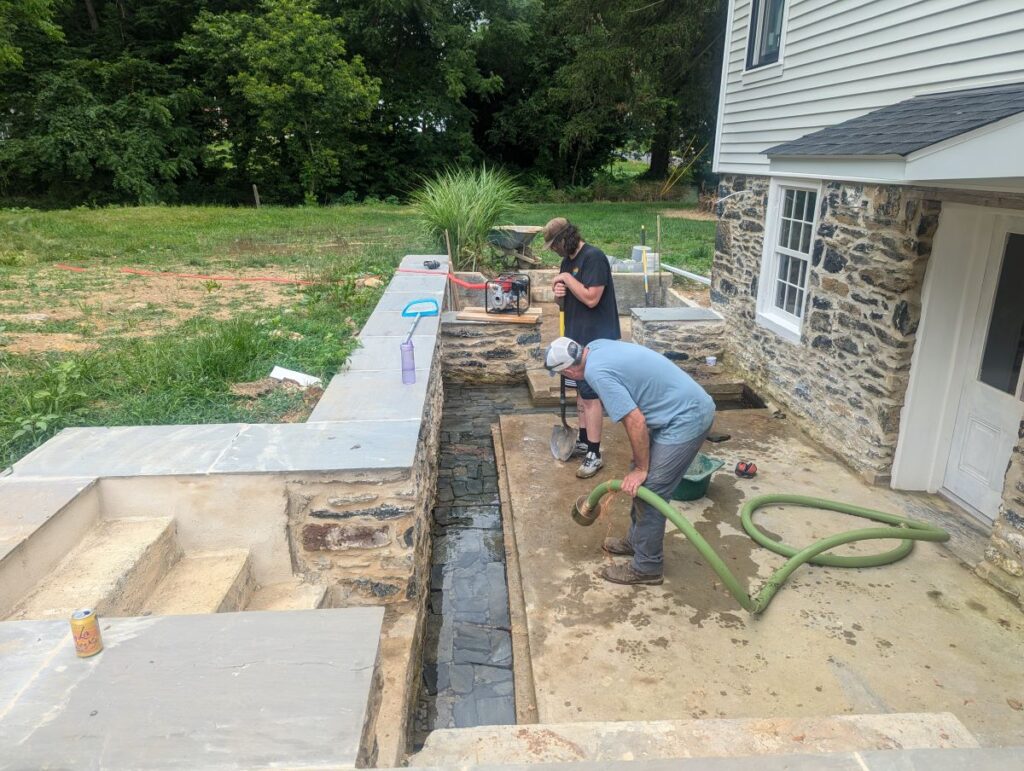
The Spring
In the next photo, Steve and Parker are just finishing up a major cleanout of the spring. Steve used a pump to lower the water level to allow for digging out the stones and debris. Once it was cleaned out, he and Parker placed small river rocks in place, along with some flat stones we had left over from a retaining wall project at our house.
It turned out beautifully! This area is still a work in progress, but the cleanout was an important accomplishment, especially since this is a key feature of the home.
Interesting side note: Although the water looks still, there is a surprising rate of flow of fresh spring water coming in at all times.
That’s all for now. With the rapid pace of finishing touches, I will be posting another update very soon!
If you have a minute, please leave a comment to let me know what you think.
Until next time!
Every detail is so beautiful and well thought out! 😍 You are so amazingly spatially aware. I think part of why I love reading your blog is that I can just rejoice in your lovely decisions, and not have to try to solve any of it myself!
Hurray all around for all of the hard workers involved in the many decisions and tasks!! 👏🏼👏🏼
It’s been a joy to watch this unfold – I so appreciate old things and how they can be resurrected and repurposed into beautiful things. Lots of work but oh the reward! What a work of art!