

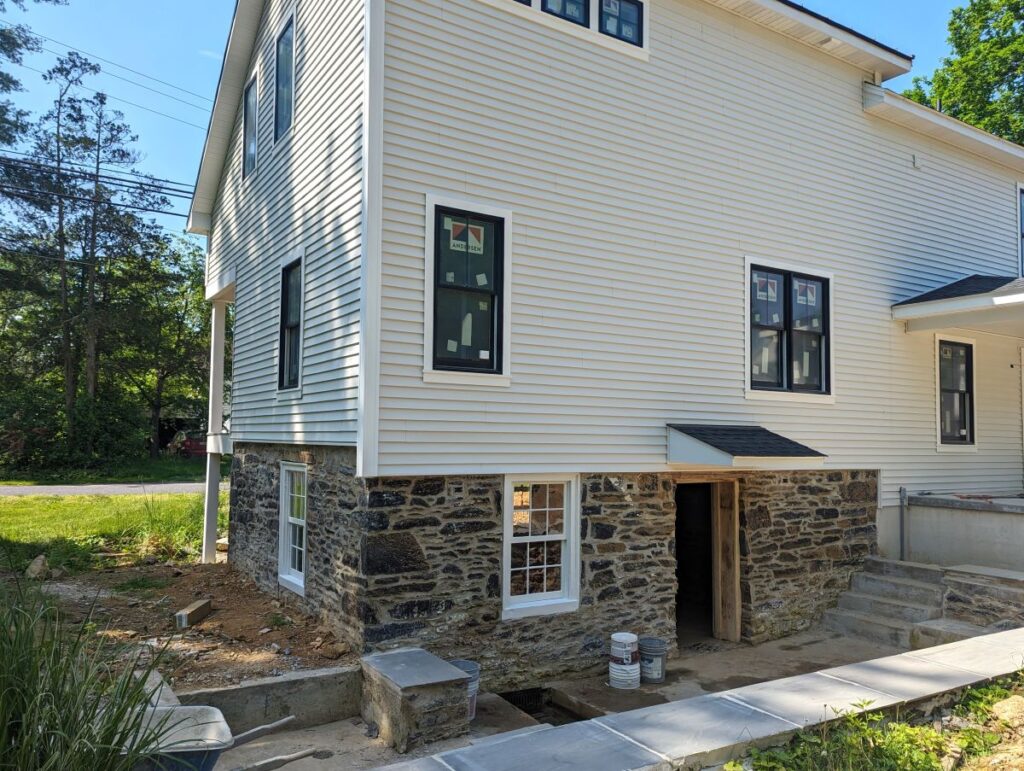
The star of the show for this post is definitely the back patio! Although the space is still in progress, the transformation from what it was is unrecognizable.
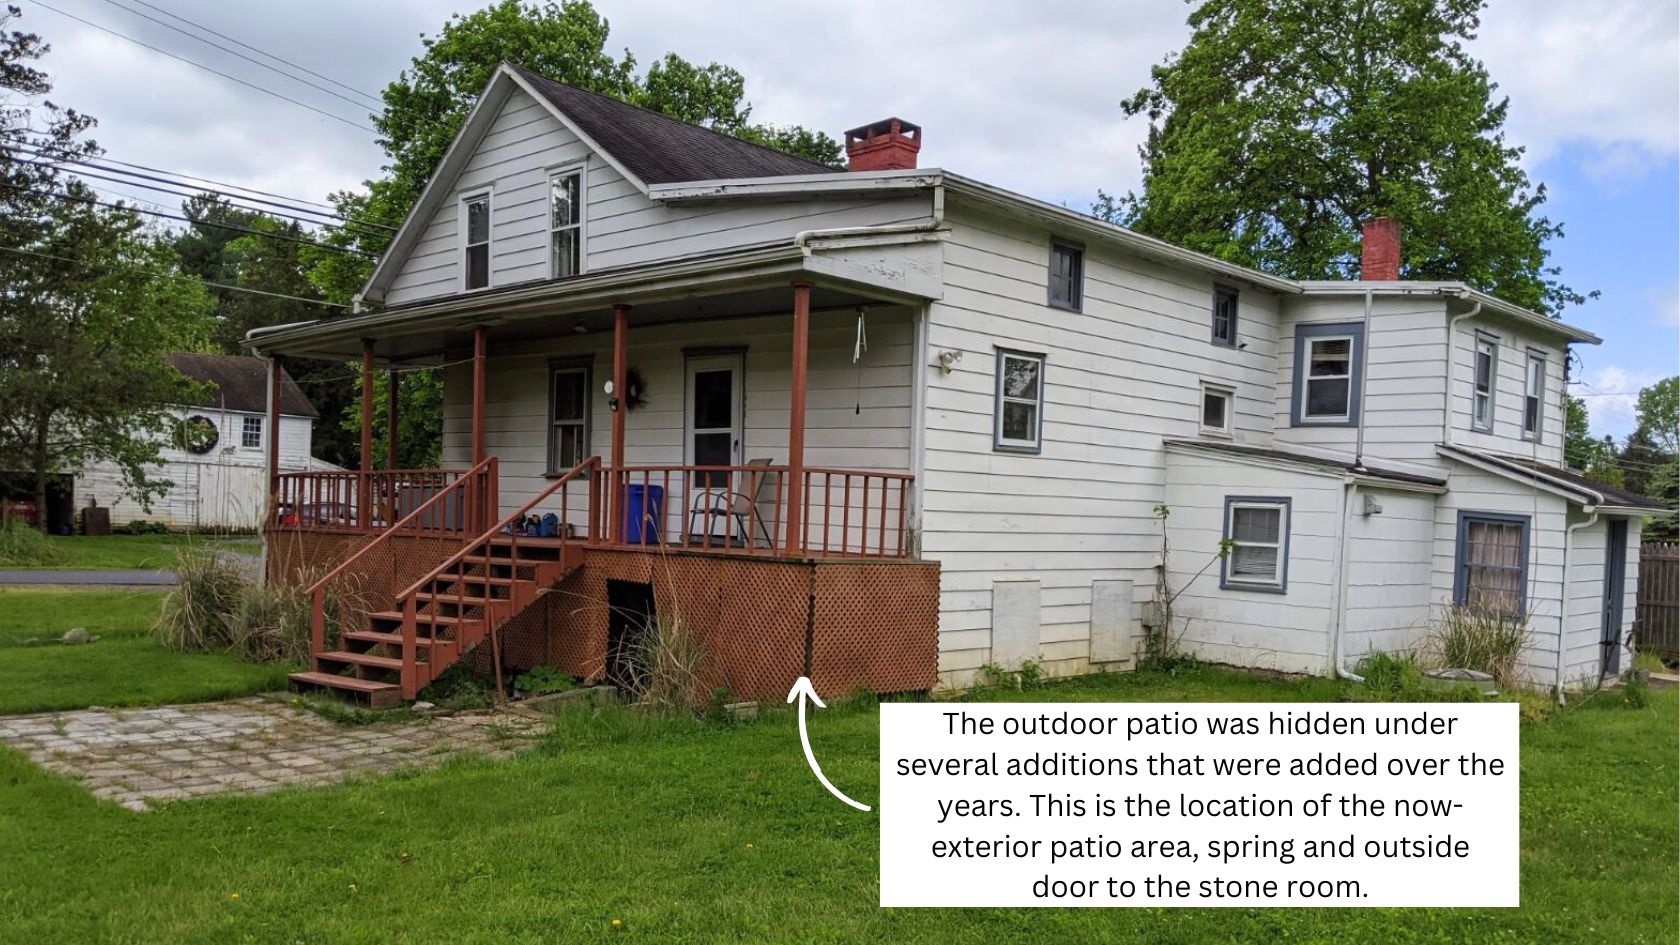
You cannot fully appreciate the current state of things without seeing the “before” photos of The Springhouse project. Scroll down to see the next three images of how this part of the house looked when we started and how it looked after demo. Prepare to be amazed!!
Where We Started
I don’t think it is an exaggeration to say the house now is unrecognizable from what it was. The beautiful history had been covered over as the necessity for additions arose over the years. I’m sure this is true of many historic homes that are still standing.
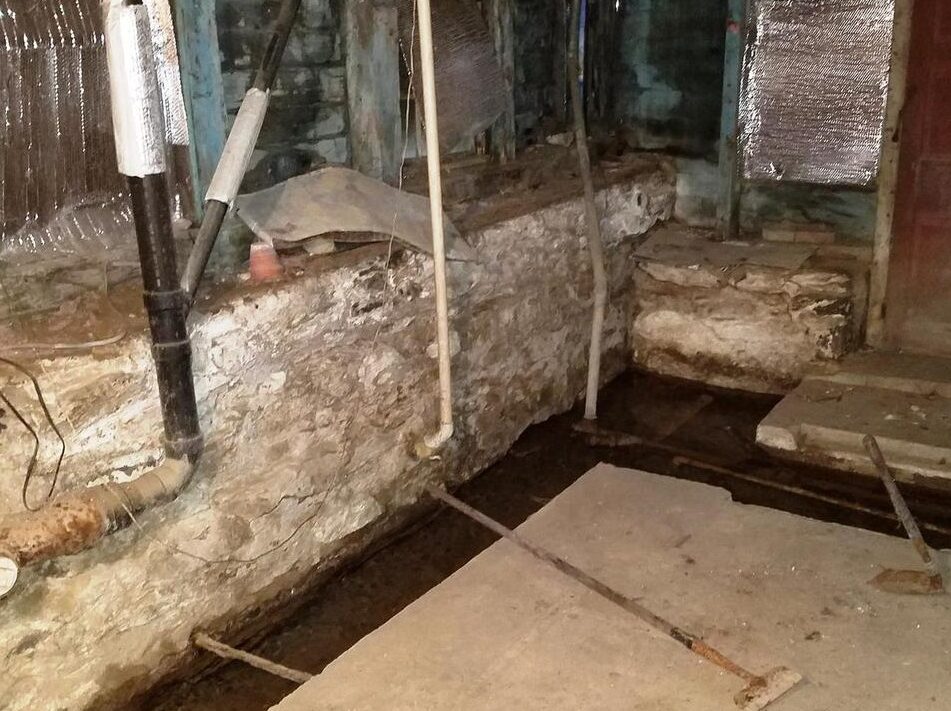
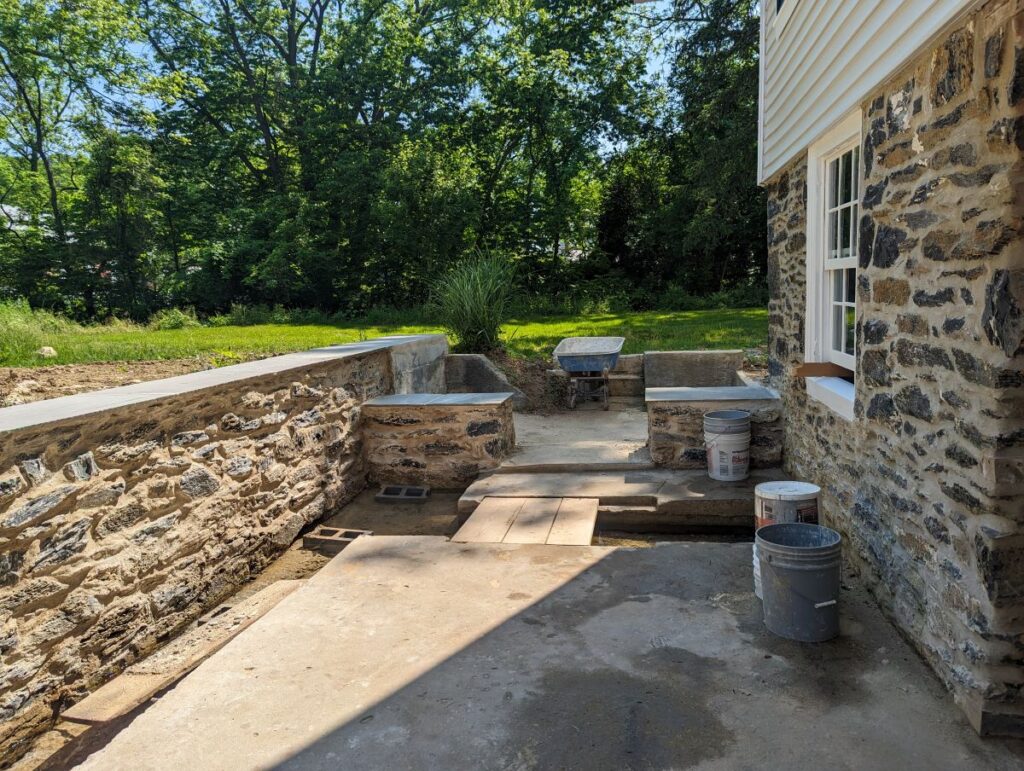
The next photo shows the current patio area as it looked when we started. Here you see the stone half wall that has now been restored and capped with flagstone. Everything else has been removed. I can remember standing here and feeling a huge knot in my stomach as I considered what we were taking on.
The next photo shows the same area after demolition. To say it was rough is a gross understatement!
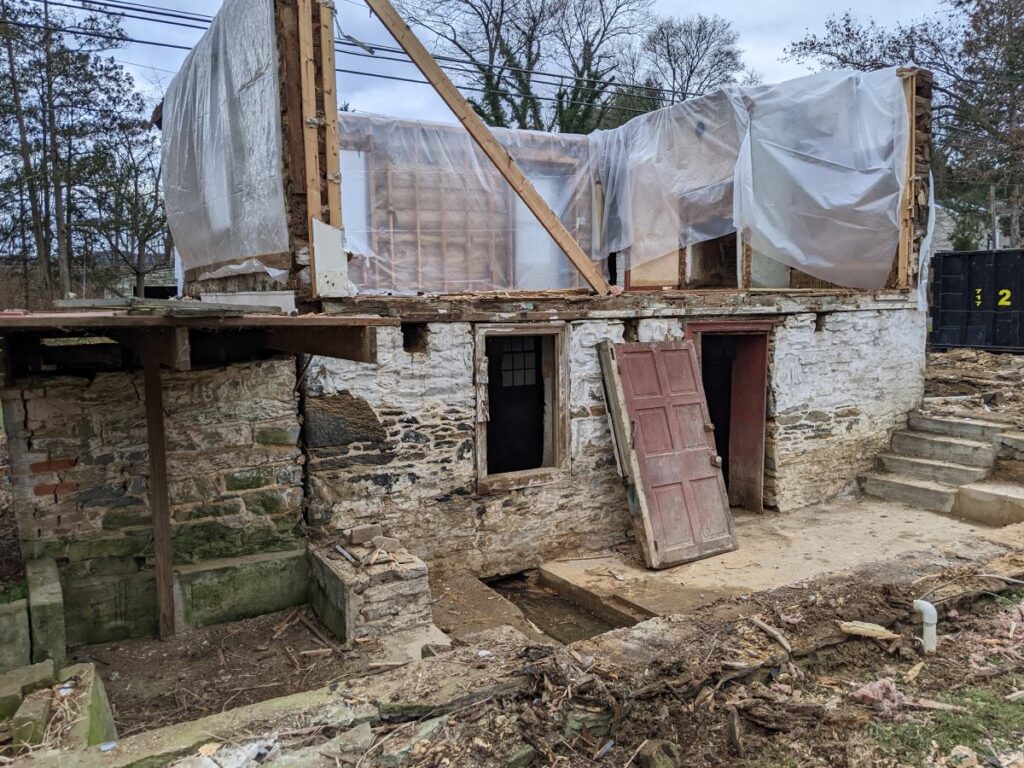
I honestly look at these pictures and wonder about our sanity in buying this property! But if you have been following along from the beginning, you know that we had compelling reasons for taking a risk on this home. If you don’t know the details, it’s worth reading the first Springhouse Renovation post to understand our rationale. I’m not saying we aren’t a little crazy, but it wasn’t a impulsive decision.
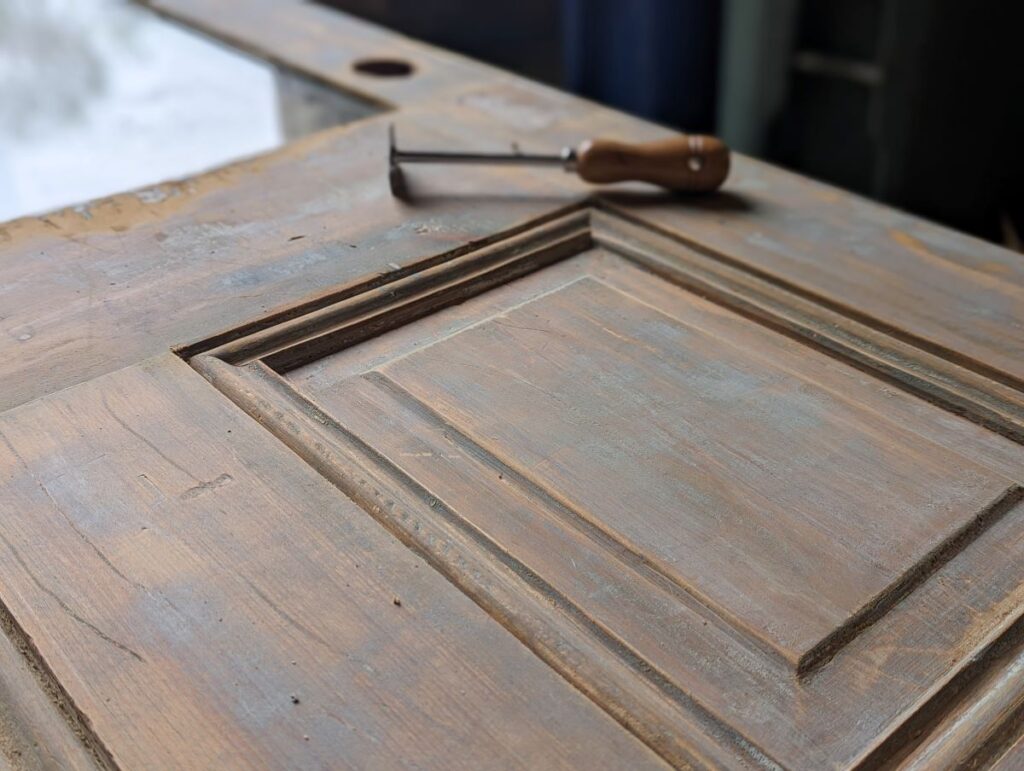
Here is another view of the patio. Mark and Don worked to reframed the stone doorway and trim the old front door to fit this opening (not an easy task)! I am still working on refinishing the old door that will go there.
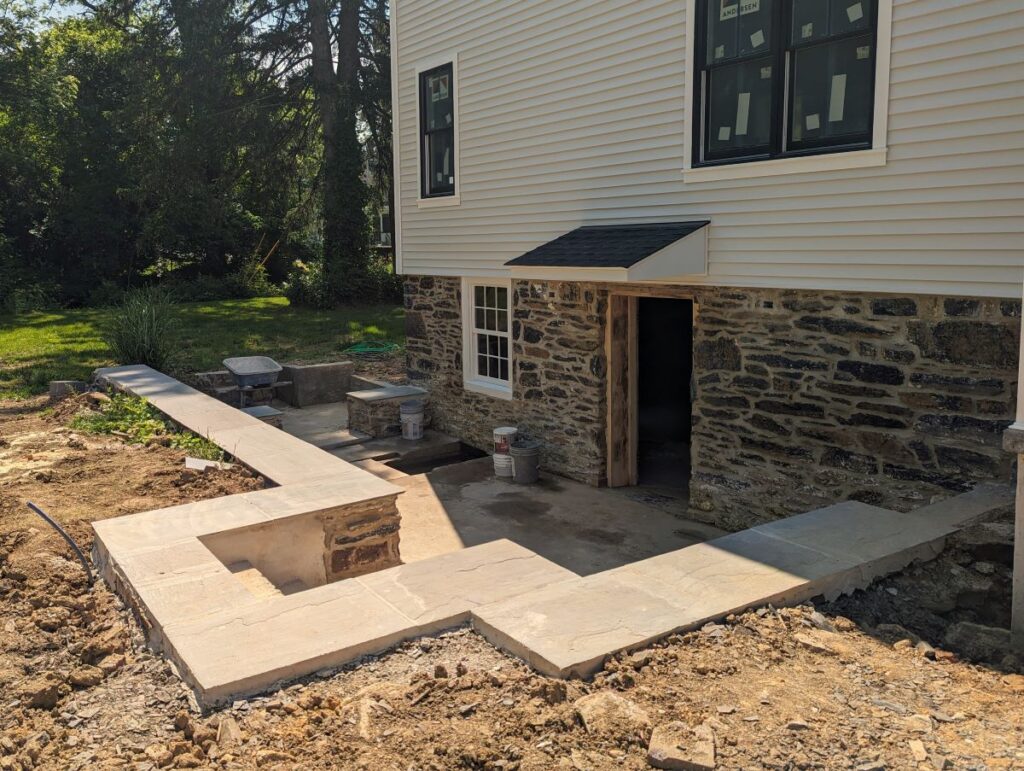
The stone half wall was cleaned up by power washing the surface and chiseling out the old mortar. Then everything was repointed and capped with flagstone slabs.
After I finished restoring the old windows, I moved on to the window frames.
The windowsills were in rough shape. I applied a wood epoxy to bring back the strength and integrity of the wood. Next, everything was sanded smooth, primed, and painted. I am so happy to finally be finished with this window project!
I wanted to show you the beautiful irregularity of the old glass in these windows, but I just couldn’t capture a photo that did it justice. So many wonderful waves and bubbles you only find in really old glass!
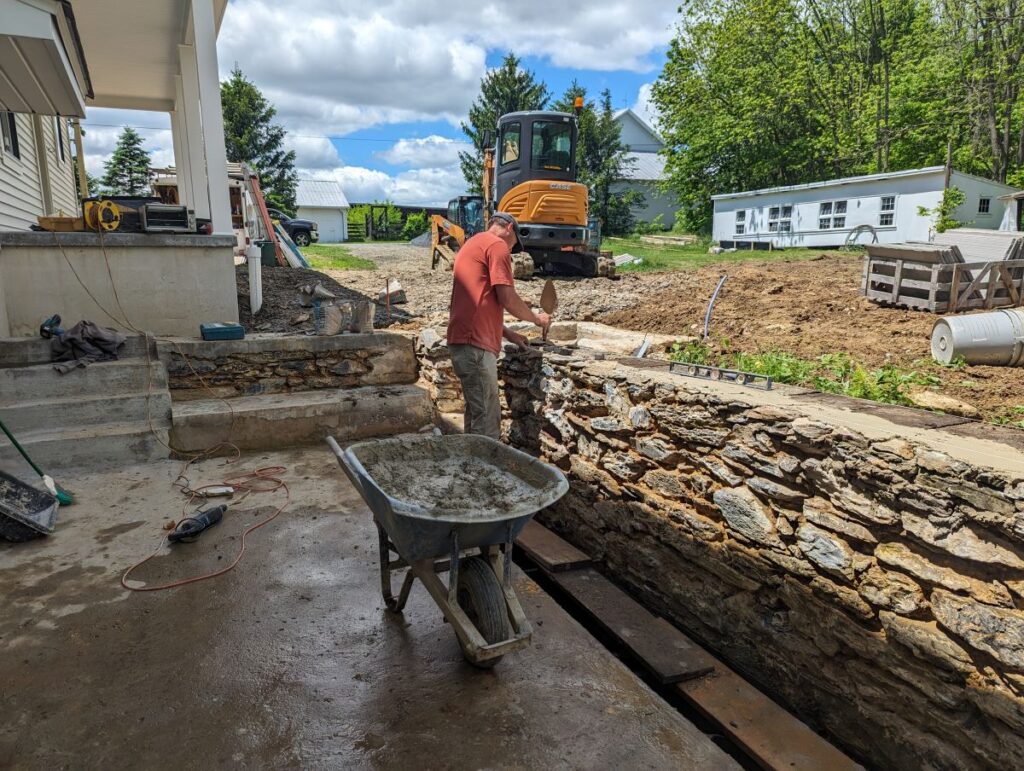
In this photo you can see the active spring (with the cinder blocks in it). This area has not been cleaned out or fixed up yet. Steve and I plan to clean out the sediment and add river rocks. The wall next to the wheelbarrow also needs to be restored with poured concrete.
More Happening Inside
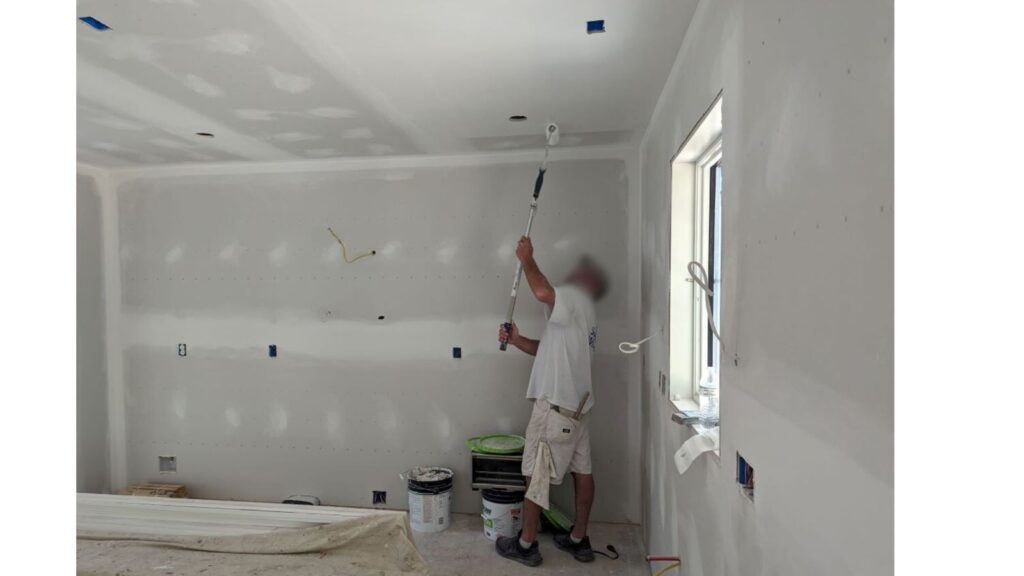
The drywall is complete as well as the trim around the windows. I have been consistently choosing clean lines for the finishing details, including the window trim and baseboards.
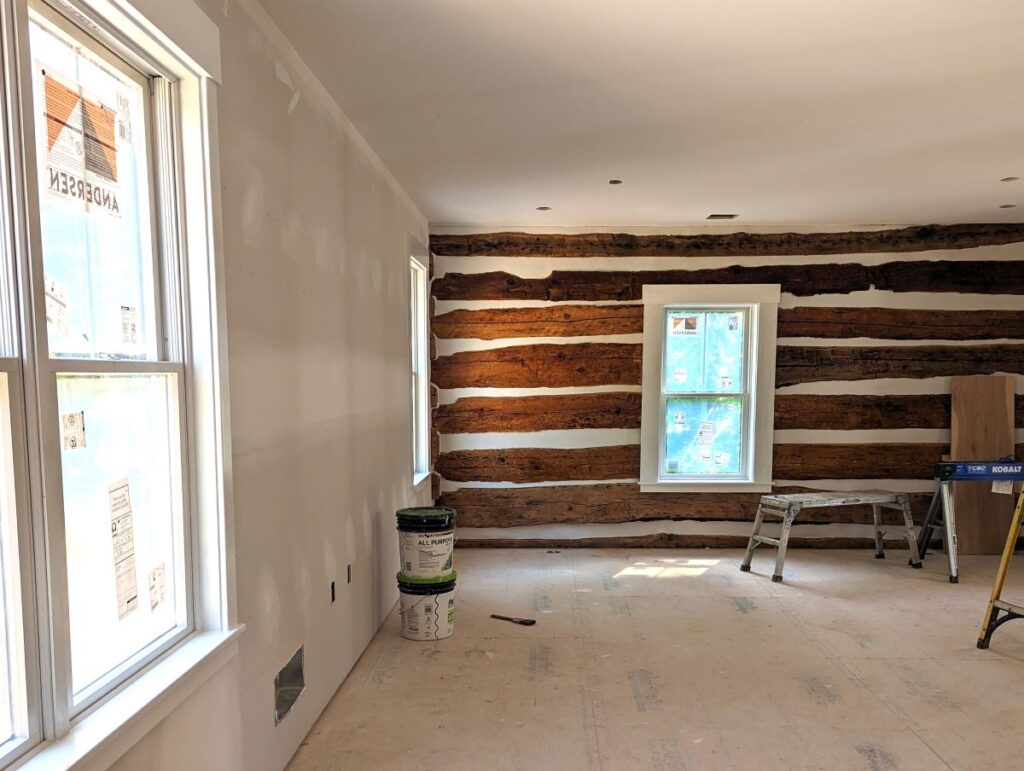
The ceilings have been painted. Wall and trim painting will begin next week.
Both upstairs bathrooms now have flooring installed. After seeing this home in its extremely rough state for so long, I am continually amazed to walk through it now and actually see some finished details.
What’s Next
Here is a list of some of the time-sensitive projects and decisions that need my attention:
— Lighting fixtures need to be selected for the whole house.
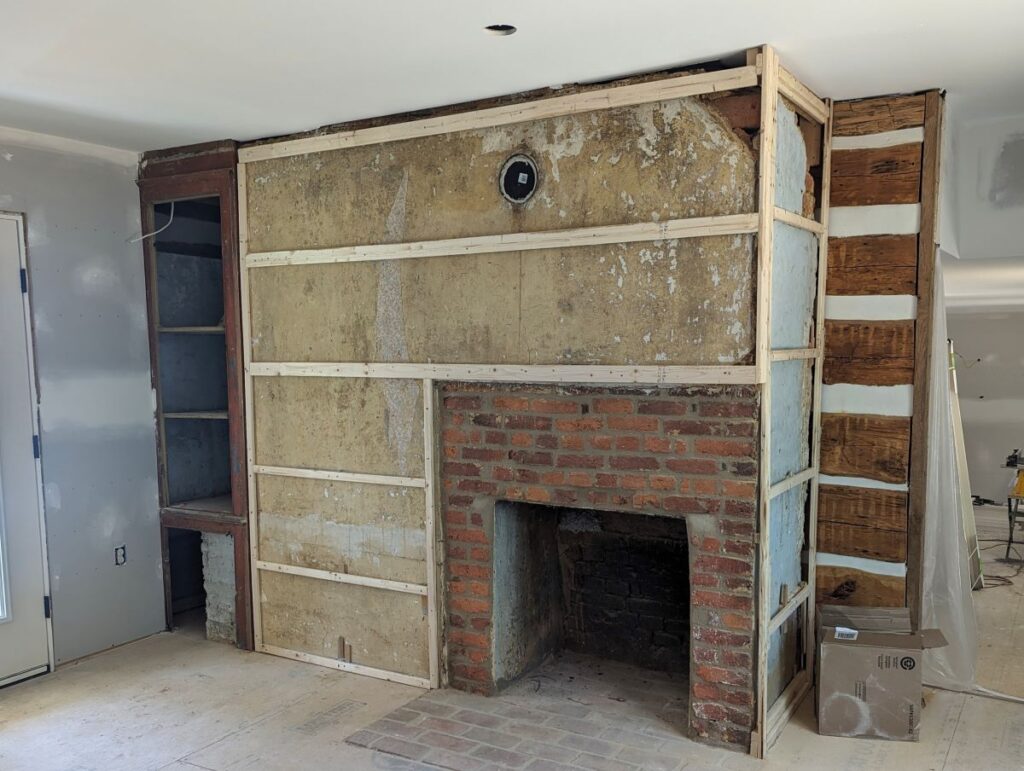
— Some historic restoration elements are still in progress as well. These include:
- finish work to the old front door
- work on the boards designated for around the fireplace
- reglazing the old sink for the first floor bath
- cleaning up the logs that will go on the ceiling in the living room
- finalize the designs for the built in dining room banquette, downstairs bathroom sink base, and kitchen island.
Thank you so much for your continued interest in The Springhouse Renovation Project. I just love sharing it with the over 700 new visitors that have found the Charm by Design website!
If you have a minute, I would love to hear from you! Please leave a comment and let me know what you think of the project so far.
Until next time!
Incredible vision! I love the transformation. This brings back a lot of memories from our own restoration project. It’s definitely a labor of love!
Thanks, Paul! Historic restoration is not for the faint of heart. It’s stressful, expensive, unpredictable…and also an honor to be a part of!! Thank you for following along on our journey.
It’s such a great reminder to look back on the old photos and see how far we’ve come! It’s looking so beautiful!
Your vision in progress is so appreciated by another follower. Unbelievable!
Hi Joanne,
Thank you so much for your encouraging comment and for following the progress!
What an amazing transformation! I love reading about all the details and seeing the photos. You all have such vision to accomplish this!
Thank you so so much, Joyce! We will have to set up a time for you to come and see it in person!